
how to diagnose car bad crankshaft sensor symptoms usually comes down to one thing: confirming whether the engine computer is losing a clean crank signal, or whether something else is mimicking the same behavior.
If you have a no-start, random stalling, a shaky idle, or a sudden loss of power that comes and goes, the crankshaft position sensor (often called the CKP sensor) is high on the suspect list, but it’s rarely smart to replace it on a hunch.
This guide walks you through realistic symptoms, quick checks you can do at home, and a couple of tests that help you avoid the most common misdiagnosis: blaming the sensor when the real problem is wiring, battery/charging, or ignition/fuel delivery.

What the crankshaft position sensor does (and why failures feel “random”)
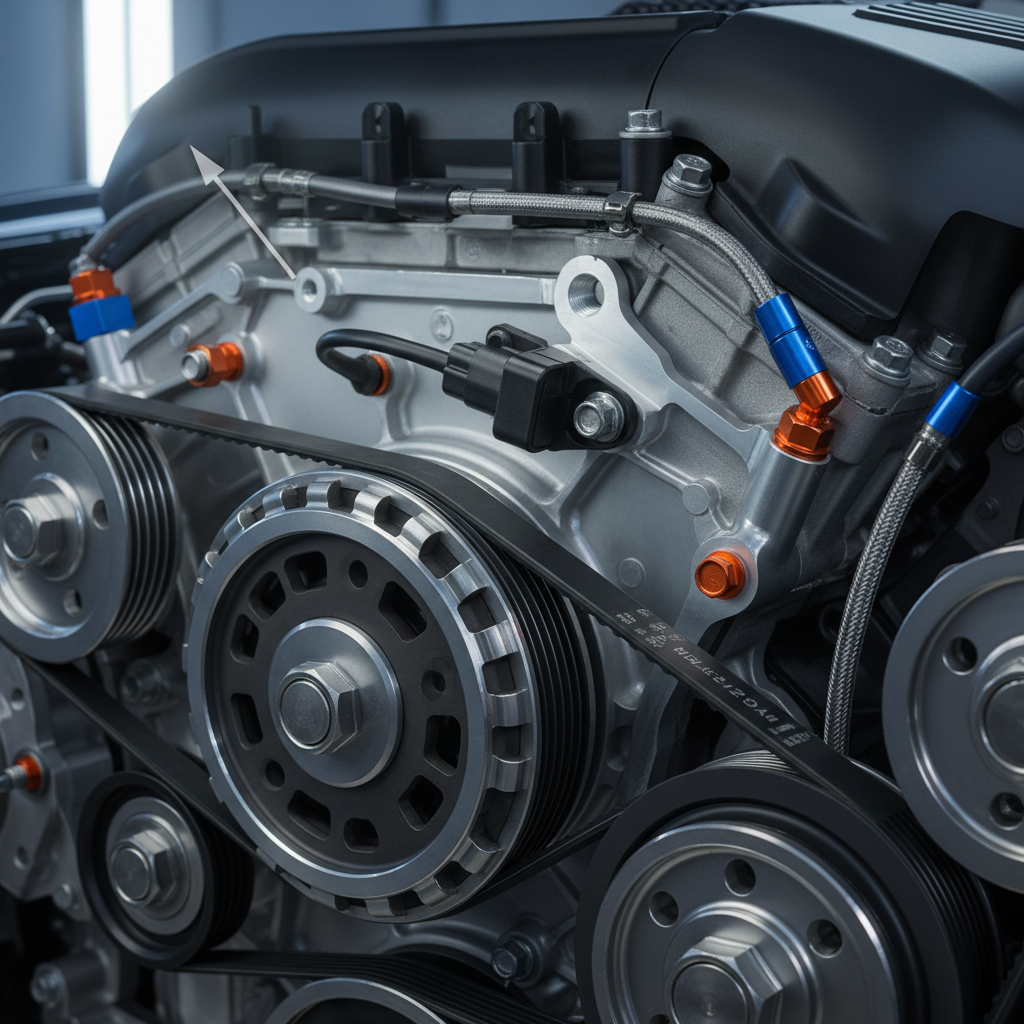
The CKP sensor tells the engine control module where the crankshaft is in its rotation and how fast it’s spinning. That signal helps time spark and fuel injection, and it also supports misfire detection and other engine management functions.
When the signal drops out, even for a split second, the engine may hesitate, stall, crank longer than normal, or refuse to start. A big reason people get stuck is that heat, vibration, and marginal wiring can make the issue intermittent, so the car behaves fine during a quick driveway check.
According to NHTSA, stalling while driving can increase crash risk, so if your vehicle dies unexpectedly in traffic, treat the diagnosis as a safety priority and limit driving until you have a clearer answer.
Common “bad CKP sensor” symptoms (and what else can look identical)
These symptoms often show up together, but you might only see one. Use them as clues, not proof.
Typical symptoms
- Crank-no-start (starter turns, engine won’t fire)
- Intermittent stalling, sometimes restarting after a cool-down
- Hard starting or extended cranking, especially when hot
- Random misfires, rough idle, or a sudden stumble under load
- Tachometer dropouts (RPM needle flickers or drops to zero while cranking on some vehicles)
- Check Engine Light, sometimes with crank/cam correlation codes
Issues that commonly mimic CKP symptoms
- Weak battery, poor grounds, or charging problems that reduce cranking speed
- Failing ignition coil(s) or spark plugs, especially under load
- Fuel delivery problems (weak pump, clogged filter where applicable, low fuel pressure)
- Camshaft position sensor faults (can overlap heavily on some engines)
- Wiring damage near the sensor (oil saturation, chafing, heat damage)
If you’re trying to learn how to diagnose car bad crankshaft sensor symptoms, this is the first mindset shift: you’re not “proving the sensor is bad,” you’re proving the crank signal is unreliable and then finding out why.
Quick self-check checklist (5–10 minutes, no special tools)
Before you pull out a multimeter, do the boring basics. A lot of “sensor” problems are power/ground problems wearing a disguise.
- Note the pattern: does it fail hot, after a long drive, or only on cold mornings?
- Watch the dash: while cranking, do lights dim hard or does the cluster reboot? That points to battery/connection issues.
- Listen for fuel prime: many cars run the pump briefly when the key is turned on (not all do). Silence can be a fuel-side clue.
- Look for obvious harness damage: near the crank pulley, oil pan area, or bellhousing where the CKP often lives.
- Check connectors: loose lock tabs, corrosion, oil intrusion, stretched wires.
If you find frayed wiring or a connector full of oil, address that first. Replacing the sensor without fixing the connection often buys you a temporary “it seems better,” then the same failure returns.
Scan tool diagnosis: codes, live data, and what actually matters
An OBD2 scanner helps, even a basic one. You’re looking for fault codes and, more importantly, signal behavior in live data.
Codes you may see
- P0335 (Crankshaft Position Sensor “A” Circuit)
- P0336 (Range/Performance)
- P0337/P0338 (Low/High input)
- P0340-series (Cam sensor codes that can show up alongside crank issues)
- P0016 (Crank/cam correlation, can also indicate timing/mechanical issues)
According to SAE International, standardized OBD diagnostic trouble codes are designed to point you toward a system or circuit, not automatically a single failed part. That’s why you still need confirmation tests.
Live data checks that are practical
- RPM while cranking: if RPM stays at 0 during cranking, that can suggest no crank signal, though some vehicles report it differently.
- Engine speed stability: if RPM jumps around while the engine stumbles, signal dropout is possible.
- Freeze frame: look at coolant temp and RPM when the code set, it often reveals “fails when hot” patterns.
Don’t overread one data point. Some ECUs show RPM from other sources under certain conditions, and some cheap scanners update slowly. Use the scan info as a map, not a verdict.
Hands-on tests: what you can measure (and what you can’t)
There are two common CKP sensor types: Hall-effect (3-wire) and magnetic/variable reluctance, VR (2-wire). Test approach depends on which you have.
Safety and setup
- Work on a cool engine when possible, keep hands and leads away from belts and fans.
- If you’re unsure about backprobing or wiring ID, stop and use a service manual or ask a professional. Wrong pin tests can damage modules.
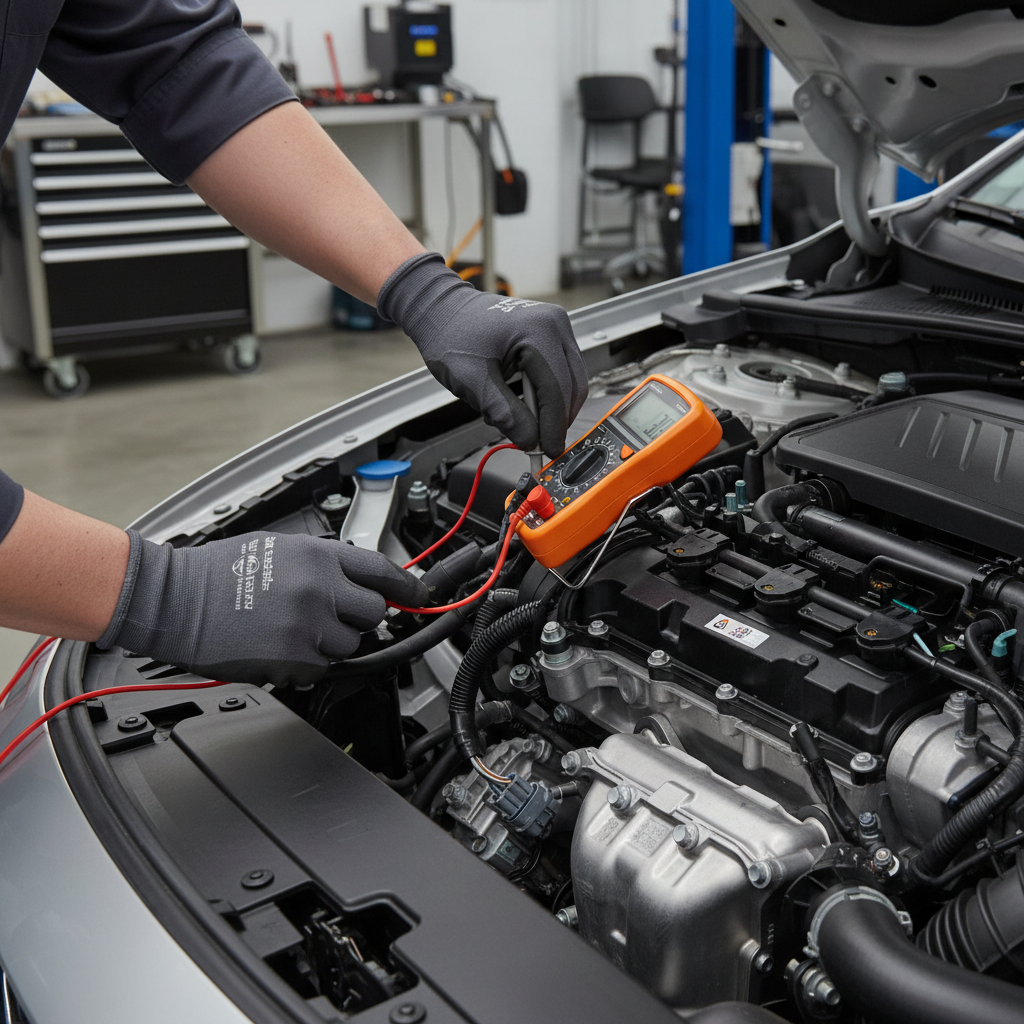
Hall-effect CKP (3-wire) basics
- Reference voltage: typically 5V (sometimes 12V depending on design) on the power wire with key on.
- Ground integrity: voltage drop testing is more meaningful than “continuity beeps,” especially on older grounds.
- Signal toggling: best confirmed with an oscilloscope, but some meters can show frequency changes while cranking.
VR CKP (2-wire) basics
- Resistance check: can catch an open circuit, but “in range” does not prove it’s good under heat and vibration.
- AC voltage while cranking: you may see a small AC signal that rises with cranking speed; no signal can point to sensor, wiring, or tone ring issues.
This is the part many DIYers find frustrating: a CKP can “pass” static tests and still fail when hot. If your symptoms are heat-related, focus on wiring movement, connector fit, and heat soak patterns as much as the sensor body.
Decision table: symptoms + evidence → likely next step
If you want a practical way to connect the dots, use this table as a quick triage. It won’t cover every vehicle, but it keeps you from guessing.
| What you see | What it often suggests | What to do next |
|---|---|---|
| Crank-no-start, scanner shows 0 RPM while cranking | No CKP signal or no ECU reading | Check CKP connector, power/ground (Hall), AC output (VR), inspect harness near sensor |
| Stalls when hot, restarts after cooling | Heat-sensitive sensor or wiring | Heat/soak pattern notes, wiggle test harness, inspect for oil intrusion, consider scope test |
| P0335/P0336 present, wiring looks damaged | Circuit fault more likely than sensor internals | Repair wiring/connector first, clear codes, retest |
| P0016 (crank/cam correlation) plus rough running | Sensor issue or mechanical timing/tone ring | Confirm cam sensor data, inspect timing components if applicable, seek pro help if unsure |
| Hard start + low battery voltage while cranking | Cranking speed too low for stable signal | Load test battery, check terminals/grounds, verify starter draw if needed |
Practical step-by-step workflow (DIY-friendly)
Here’s a workflow that fits how most people actually work: you want the car fixed without buying a pile of tools you’ll use once.
- Step 1: Capture conditions. Write down temperature, drive time, and whether it dies at idle or under load. Intermittent issues need context.
- Step 2: Scan and save. Pull codes, save freeze frame, clear codes only after you’ve saved info.
- Step 3: Inspect CKP circuit. Look for harness rub-through, oil contamination, bent pins, loose connector fit.
- Step 4: Verify basics. Battery health, clean terminals, solid engine ground, and normal cranking speed.
- Step 5: Test by sensor type. Check reference voltage/ground for Hall sensors, check AC output for VR sensors while cranking.
- Step 6: Decide. If power/ground and wiring are solid but signal is absent/erratic, sensor replacement becomes more reasonable.
- Step 7: Confirm the fix. Road test under the same conditions that caused the failure, then rescan for pending codes.
When people search how to diagnose car bad crankshaft sensor symptoms, they often jump straight to Step 6. If you slow down and do Steps 2–5 well, you usually save time and avoid the “new part, same problem” loop.
Common mistakes that waste time (or create new problems)
- Replacing the sensor because a code exists. Circuit codes can be wiring, connector fit, or even ECU power/ground issues.
- Ignoring the tone ring / reluctor. Damaged teeth, debris, or excessive sensor gap can distort the signal, and it won’t be fixed by a new sensor.
- Not checking for oil contamination. Some engines leak oil into the connector area, which can cause intermittent signal loss.
- Using poor-quality parts. Aftermarket sensors vary, and fitment or signal shape can matter. OEM-equivalent quality tends to reduce comebacks.
- Skipping relearn procedures. Some vehicles need a crank variation relearn after sensor replacement; without it, you may get misfire codes or drivability issues.
If you’re not sure whether your vehicle needs a relearn, check a factory service source or ask a shop. It’s a small detail that can look like a “failed new sensor.”
When it’s smarter to involve a professional
Some cases are straightforward, others really aren’t. Consider getting help if:
- The car stalls in traffic and you can’t reproduce it safely in a controlled test.
- You see crank/cam correlation codes and suspect timing chain/belt stretch or a mechanical issue.
- You’ve confirmed good power and ground, but the signal still looks questionable without a scope.
- The CKP is buried behind covers, near the transmission bellhousing, or requires special tools to access.
A shop with a lab scope can often confirm a failing sensor or tone ring quickly by viewing the waveform under heat and load. That’s usually the shortest path when the problem is intermittent and safety-related.
Key takeaways and next actions
Key points:
- Symptoms alone can’t prove a bad CKP sensor, but they can narrow your search fast.
- Scan data plus wiring inspection solves a large share of “mystery” stalls and no-starts.
- Match your test to sensor type (Hall vs VR), and don’t ignore cranking speed and grounds.
If your car is currently drivable, your next best move is to scan for codes, save freeze-frame data, and inspect the CKP connector and harness before buying parts. If it stalls unpredictably, prioritize safety and consider professional diagnostics.
FAQ
- Can a crankshaft sensor go bad without a check engine light?
Yes, it can happen. Intermittent dropouts may not meet the threshold to set a code right away, especially if the engine recovers quickly, but drivability symptoms can still show up. - What OBD2 code most strongly points to a crankshaft position sensor?
P0335 is the classic starting point, but it still describes a circuit problem. You’ll want to confirm wiring, power/ground, and signal behavior before calling the sensor bad. - Will a bad crankshaft sensor cause misfires?
It can. If timing information becomes unstable, the ECU may struggle to control spark and fuel precisely. That said, misfires are more often plugs/coils/injectors, so look for supporting evidence. - How do I know if my CKP sensor is Hall-effect or magnetic (VR)?
Count the wires at the connector as a quick hint: many Hall sensors have 3 wires, many VR sensors have 2. Confirm with a service manual because some designs vary. - Is it safe to drive with suspected crankshaft sensor problems?
Many situations aren’t. If the engine stalls without warning, driving can be risky. Consider towing or limiting trips until you have a confirmed fix. - Do I need a crankshaft relearn after replacing the sensor?
Some vehicles do, some don’t. If you replace the sensor and get new misfire-related codes or odd drivability, check whether your model requires a crank variation relearn using a scan tool. - Can low battery voltage look like a bad crankshaft sensor?
Yes, especially during cranking. Low cranking speed and voltage drop can cause weak or noisy sensor signals, so battery and connections should be part of your diagnostic routine.
If you’re diagnosing an intermittent stall and want a more predictable path, a basic scan tool that shows live RPM plus a careful harness inspection often beats guessing parts; if you’d rather skip the trial-and-error, a local diagnostic shop with scope capability can confirm the crank signal health quickly and help you spend money in the right place.