
The best car paint protection film kit for you usually depends less on the brand name and more on three things people skip: your coverage goal, your install comfort level, and whether the kit matches your exact trim.
If you have ever watched someone install PPF in a clean shop and thought “I can do that,” you are not alone. But DIY results swing wildly, mainly because film quality and kit design matter, and because a driveway install brings real variables like wind, dust, and water hardness.
This guide narrows the field in a practical way. You will see what separates a good kit from a frustrating one, a quick self-check to pick the right coverage, and an install plan that avoids the most common failure points. You will also get a comparison table you can screenshot.
What makes a “best” PPF kit in 2026 (and what still causes regrets)
Most shoppers fixate on thickness and gloss, then get surprised by how the kit behaves during install. In real use, a “best” kit is the one that lays down cleanly, hides edges well, and holds up to washing habits and climate.
- Precut accuracy: A solid kit matches your model year and trim, wraps to logical stopping points, and avoids weird gaps around sensors and badges.
- Film construction: Look for a durable top coat and stable adhesive that repositions without turning milky. People call this “self-healing,” meaning light swirls may fade with heat.
- Clarity: Orange peel effect is what makes a hood look slightly textured. Better films reduce that look, though lighting and paint color also influence what you see.
- Edge strategy: A kit can be great and still look bad if edges sit in high-visibility zones. The best layouts hide edges on body lines or under trim.
- Tooling and instructions: A good squeegee, slip/tack guidance, and panel-by-panel videos save hours and reduce trash film.
According to International Detailing Association (IDA), proper surface prep and controlled install conditions play a major role in coating and film performance, which is a polite way of saying your results may live or die on cleaning and technique.
Quick comparison table: kit types and who they fit
Before you hunt for a specific product, decide which kit category matches your real-world use. This is where you avoid overbuying, or buying something that looks “complete” but is misery to align.
| Kit Type | Typical Coverage | Best For | Tradeoffs |
|---|---|---|---|
| Partial front kit | Partial hood, partial fenders, mirrors, bumper | Budget protection for highway chips | Visible seam lines on hood/fenders |
| Full front kit | Full bumper, full hood, full fenders, mirrors | Most daily drivers, leased cars | More install time, bumper alignment can be tricky |
| Track package | Full front plus rockers, rear quarters, A-pillars | Wide tires, gravel roads, spirited driving | More edges, more chances to trap dust |
| Full body kit | Most painted panels | Show cars, long-term ownership | Complex, often better as pro install |
| Bulk film (not precut) | Custom | Experienced installers | High waste, high skill requirement |

How to choose the best car paint protection film kit for your car
People ask for the “best car paint protection film kit” as if one product wins, but the smarter move is matching the kit to your paint condition and your risk zones. Use this as a quick decision tree.
Self-check: which coverage level matches your reality?
- You commute highway miles, see chips on the bumper often: start with full front.
- Your car is black or very dark and you hate visible edges: lean to full panels (full hood vs partial).
- You park outdoors under trees, deal with sap and bird droppings: prioritize hood, fenders, roof leading edge.
- You run wider tires or gravel roads: add rockers and rear quarters.
- You are new to PPF: avoid bulk film as a first project, and be cautious with full bumper coverage.
Fitment details you should verify before buying
- Exact model year and trim (facelifts matter more than people expect).
- Parking sensors, cameras, radar: cutouts should match, and you should confirm film is safe for those areas. When unsure, ask the seller or consider a pro.
- Paint history: repainted panels may have different adhesion behavior, so test a small area if possible.
According to SEMA, paint protection film is widely used to help protect automotive finishes from road debris and environmental exposure, but performance depends on product selection and proper installation, which lines up with what detailers see daily.
Top picks: “best” kits by use case (not by hype)
I am not going to pretend there is a single universal winner. Instead, here are the kit profiles that tend to work best for most shoppers in 2026, and what to look for when you compare listings.
- Best for first-time DIY: A precut full front kit with forgiving adhesive, clear install videos, and extra slip solution guidance. Look for generous alignment tabs and sane panel segmentation.
- Best value for daily drivers: Full front plus mirrors and door cups, ideally with optional headlight film. This tends to cover 80% of real damage for many commuters.
- Best for high-impact zones: A “track-style” kit that includes rockers and rear quarters, because that is where tire spray and debris often sandblast paint.
- Best for appearance perfectionists: Full hood and full fenders rather than partial pieces, fewer seams, fewer visible edges. If you get picky, you will notice seams every wash.
Key takeaway: your “best” kit is the one that matches your panel layout and your patience level, not the one with the loudest marketing.
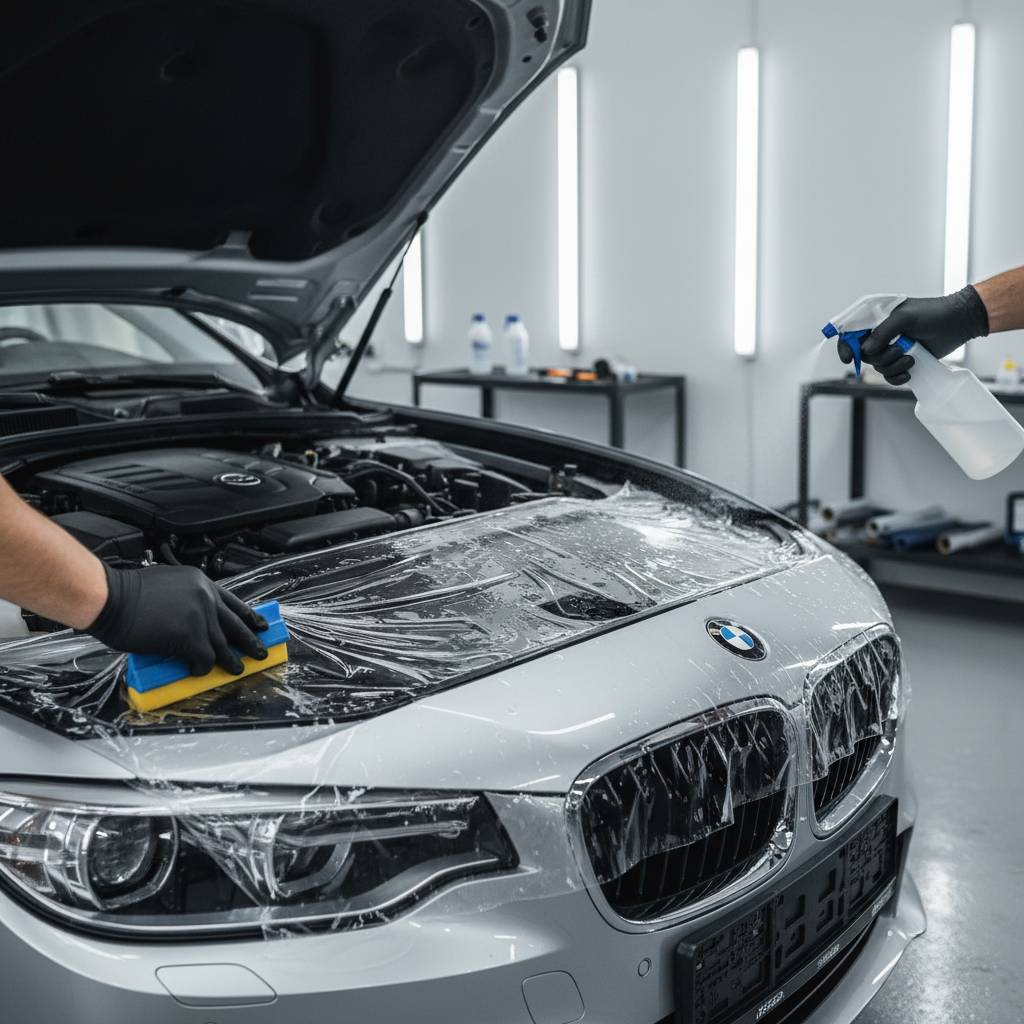
DIY installation steps that actually reduce failure (realistic driveway version)
A clean shop is ideal, but many installs happen at home. If you want your best car paint protection film kit to look good, you need to control the few things you can control.
Prep and environment
- Wash, decon, and dry: remove grit, then use a clay bar or decon towel if needed. Anything left behind becomes a bump.
- Work out of wind: wind carries dust that sticks to wet adhesive. A closed garage helps more than fancy tools.
- Mind temperature: many films behave better in moderate temps. Too cold can reduce tack, too hot can make positioning stressful.
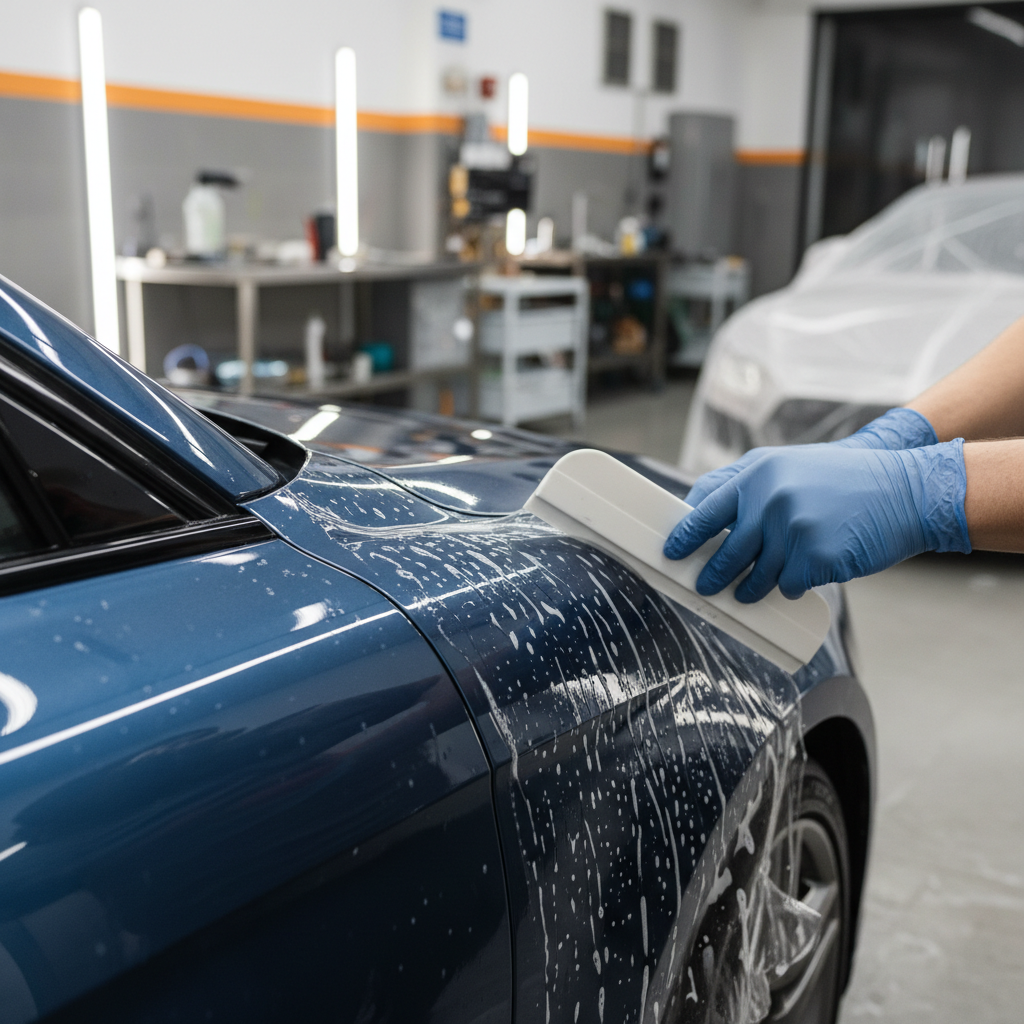
Install flow (simple but effective)
- Test fit each precut piece dry, so you know where the edges want to land.
- Use slip solution to position, then switch to tack solution as you lock edges. If you rush this, you chase bubbles for hours.
- Squeegee from the center out, using overlapping strokes. Watch the angle, too steep can drag film.
- Edges last: set the main section flat first, then lock edges and corners gradually.
- Post-install check: look under strong light for fingers, silvering, and trapped debris before you call it done.
Common mistakes: why “good film” still looks bad
Most ugly installs come from a few repeatable mistakes. Fixing these early saves film, and saves your mood.
- Skipping paint correction expectations: PPF can hide tiny wash marring a little, but it will not magically remove scratches. If you hate what you see now, consider polishing before film.
- Overhandling adhesive: touching the sticky side increases contamination. Gloves help, but discipline helps more.
- Too much tack too soon: high tack locks the film before alignment, and you end up stretching to compensate.
- Chasing every micro bubble: some small moisture haze can clear during cure. Aggressive lifting often makes it worse.
- Bad edge finishing: edges that are not fully set invite lifting after washes. Gentle heat may help, but avoid overheating paint.
According to U.S. Environmental Protection Agency (EPA), many chemical products require careful handling and ventilation, so if your install uses alcohol mixtures or cleaners, read labels, ventilate the area, and keep them away from kids and pets.
When to stop DIY and call a pro
There is no shame in tapping out. Some panels are just unforgiving, and in many cases a professional install costs less than replacing wasted film pieces twice.
- Complex bumpers with deep vents, parking sensors, tight curves, or big grills
- Full-body coverage, where consistent edge wrap and panel transitions matter
- Fresh repaint or unknown paint history, because adhesion and removal risk may be different
- Driver-assist sensors you do not want to mess with, especially if the kit’s cutouts seem off
If you are unsure, ask an installer to do the bumper and let you DIY the hood and fenders, a split approach that many people find reasonable.
Conclusion: a smart way to buy your kit this year
If you want one clean takeaway, pick coverage based on where your paint takes hits, then buy a precut kit that matches your exact trim and comes with clear install guidance, that combination tends to deliver the most satisfaction.
Two action steps that keep you out of trouble: confirm fitment details before checkout, and plan install day like a small project with time, lighting, and a controlled space.
If you need a more hands-off result, it can be worth getting quotes for pro install on the hardest panels, then using your kit for the simpler ones.
Key points to remember
- Fitment beats hype: correct trim coverage matters more than a buzzword spec.
- Full front is the sweet spot for many U.S. daily drivers.
- Prep is half the job, dust and poor cleaning show through the film.
- Know your limits, bumpers and full wraps often justify professional help.
FAQ
What is the best car paint protection film kit for beginners?
Most beginners do better with a precut full front kit that includes clear panel-by-panel instructions and forgiving adhesive, and they often skip the bumper their first time if the design has lots of curves.
Is a partial hood kit worth it, or will the line bother me?
Partial hood kits can make sense on a tight budget, but the seam line often becomes noticeable on darker paint and under certain lighting, if you are detail-oriented, a full hood piece usually feels better long term.
How long does a DIY PPF install usually take?
For a first-time installer, a full front can easily take most of a day, sometimes a weekend if you move carefully, the bumper is where time disappears.
Will PPF damage my paint when removed?
On factory paint in good condition, removal is often straightforward, but results vary by film, age, and whether the panel was repainted, if you suspect non-factory paint, a pro removal is safer.
Can I apply PPF over ceramic coating?
Many installers prefer film directly on clean paint for best adhesion, coating under film can reduce bonding in some cases, so check the film manufacturer guidance or ask an installer before committing.
Do I need paint correction before installing a kit?
You do not always need full correction, but any defects you leave usually remain visible under film, if you already see swirls that annoy you, a light polish before installation is often worth the time.
What maintenance products are safe on paint protection film?
Most pH-neutral car shampoos work well, but avoid harsh solvents unless the film maker allows them, and if you use a pressure washer, keep a safe distance from edges to reduce lifting risk.
If you want an easier route
If you are shopping for the best car paint protection film kit but you would rather not gamble on fitment or spend a full weekend learning bumper technique, consider having a local installer handle the hardest panels and using a DIY-friendly precut kit for the flatter areas, it often lands in a good middle ground.