
The best car paint sealant kit with applicator is the one that matches your paint condition, your climate, and how much time you realistically want to spend, because even a great sealant looks bad if it smears, flashes too fast, or gets applied on a dirty surface.
If you have ever finished “sealing” and ended up with hazy patches, grabby residue, or water spots showing up a week later, you are not alone. Paint sealants are simple in concept, but the kit details matter: the applicator type, how forgiving the formula is, and whether the included towels actually buff clean.
This guide helps you choose a kit like an editor would: what to look for, what to ignore, and how to apply it in a way that holds up through washing, heat, and rain. You will also get a quick comparison table, a decision checklist, and a practical application workflow.
What a “sealant kit with applicator” should include (and what’s just fluff)
A kit can be genuinely helpful, or it can be a bottle plus the cheapest sponge imaginable. When people ask for the best car paint sealant kit with applicator, they usually want a setup that reduces guesswork and avoids extra purchases.
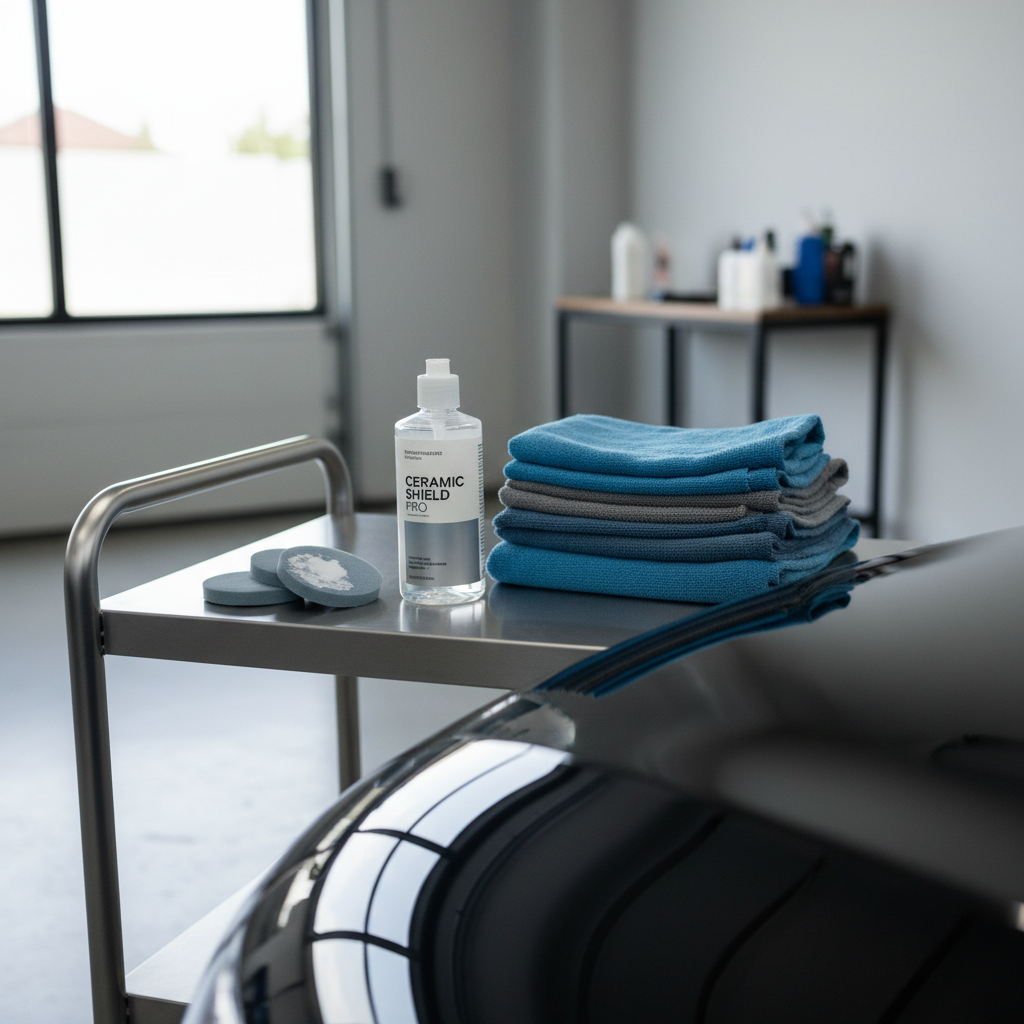
Core items worth paying for
- Paint sealant: typically a synthetic polymer formula designed for gloss and water beading.
- Applicator that matches the product: foam works for thin, even coats; microfiber applicators can hold more product but can also over-apply.
- At least one quality microfiber towel: a “buffing” towel that is too thin often causes streaking, especially on darker paint.
Nice-to-have extras (useful, not mandatory)
- A second applicator pad, because once a pad loads up, you tend to apply too much.
- A small instruction card with cure time guidance, especially for beginners.
- A prep spray or panel wipe, if you do not already own one.
What is usually fluff: random mini sponges, “free” keychains, or towels that feel like T-shirt material. They add cost without improving results.
Key buying factors: how to pick the right kit for your car and your life
Choosing the best car paint sealant kit with applicator is less about chasing the longest durability claim and more about picking a formula and applicator that you can apply correctly.
- Ease of use: Look for products described as wipe-on, wipe-off, with a forgiving buff window. Finicky sealants can punish you in hot garages.
- Finish preference: Sealants often look “glassy” and sharp. If you prefer a warmer glow, you may still choose a sealant, then top it later with wax.
- Climate: Heat and sun can shorten working time; wet climates punish weak protection. For many drivers, consistent maintenance beats chasing a 12-month label.
- Your wash routine: If you use touchless washes or strong soaps, durability can drop. A tougher sealant matters more in that case.
- Applicator control: If you tend to over-apply, pick a kit with a firm foam pad that spreads thin. Thick coats rarely last longer, they just buff harder.
According to SAE International (Society of Automotive Engineers), automotive finishes rely on clearcoat performance and proper maintenance to preserve appearance; in practice, that means your prep and wash habits affect results as much as the last-step product.
Quick comparison table: which kit style fits you
Not all “kits with applicator” serve the same user. Here is a practical way to think about categories when you shop.
| Kit type | Best for | Typical trade-off | What to look for in the applicator |
|---|---|---|---|
| Wipe-on/wipe-off polymer sealant kit | Most DIY owners, daily drivers | Can streak if over-applied | Dense foam pad + plush buff towel |
| Spray sealant kit (spray + towel/applicator) | Fast maintenance after washes | Often shorter durability per layer | High-pile microfiber towel, easy to flip sides |
| “Ceramic-infused” sealant kit | People who want more chemical resistance without a true coating | Can flash fast in heat | Foam applicator with good edge control |
| Professional-style sealant kit (needs cure discipline) | Enthusiasts who enjoy process | More sensitive to humidity, timing | Multiple pads included, quality towels |

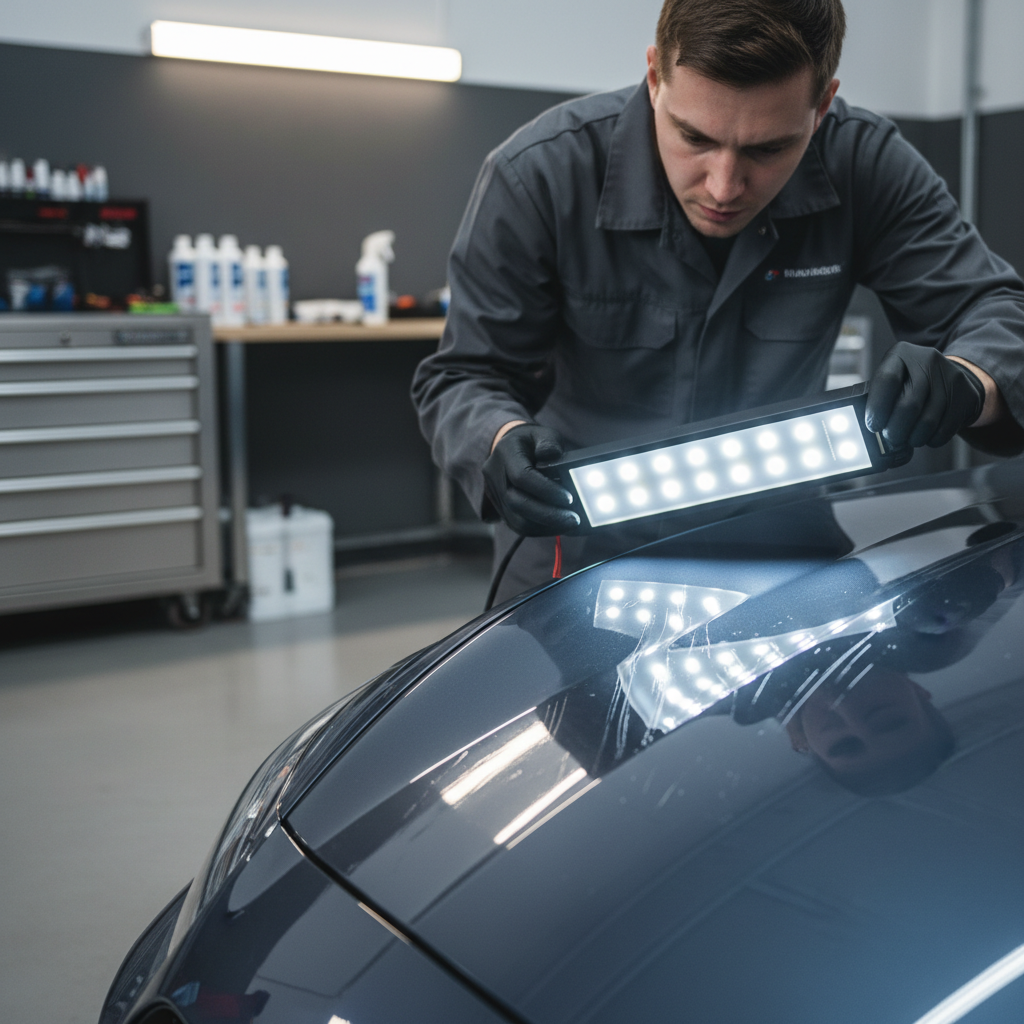
Self-check: are you ready to seal, or will you trap problems under protection?
This is where many kits “fail” even when the product is fine. A sealant locks in what is already on the surface, including light grime, oils, and faint water-spot minerals.
- Paint feels rough after washing: likely bonded contamination; consider a clay bar or clay mitt before sealing.
- Water spots or haze: sealant may hide it temporarily, but it often returns. A mild polish might be the better first step.
- Lots of swirls in sunlight: sealant adds gloss, but it will not “remove” swirls. Decide if you can live with them.
- You only have driveway shade for 30 minutes: pick a forgiving wipe-off sealant or a spray sealant, not a fast-flashing formula.
If two or more bullets sound like your car, focus on prep and ease-of-use over “maximum durability” marketing.
How to apply a sealant kit with applicator (clean results, less frustration)
Good technique is the difference between a satisfying finish and a smeary mess. This workflow fits most kits and keeps the learning curve reasonable.
1) Wash with intent (not just “get it wet”)
- Use a pH-balanced car shampoo when possible, rinse thoroughly.
- Dry fully, sealants dislike water hiding in seams.
2) Prep the surface so the sealant can bond
- If the paint feels gritty, clay the paint with proper lubrication.
- Use a panel wipe or paint prep spray to remove oils, especially if you polished.
3) Apply thin, then thinner
- Prime the applicator with a small amount of product, then work a section about half a hood at a time.
- Use overlapping passes, light pressure, and aim for an almost invisible film.
- Do not chase coverage by adding product, if you see smears, it is often too much, not too little.
4) Respect the buff window
- Follow the label for haze time, then buff with a clean microfiber towel.
- Flip towels often, switch towels if they load up.
5) Cure time and first wash discipline
- Many sealants benefit from staying dry for several hours, sometimes overnight, depending on formula and humidity.
- Avoid harsh soaps right after application, your first wash is where many people accidentally strip a fresh layer.
According to International Detailing Association (IDA), proper surface preparation and correct product use are central to consistent detailing outcomes, which matches what most DIYers discover the hard way.
Common mistakes that make a “best” kit look mediocre
If you want the best car paint sealant kit with applicator to perform like the reviews suggest, avoid these patterns. They show up constantly, especially on dark colors.
- Applying in direct sun: product flashes too fast, buffing becomes patchy.
- Using one towel for everything: one towel gets saturated, then it just smears sealant around.
- Over-prepping with harsh cleaners: strong degreasers can dry trim and leave streak-prone residue if not rinsed well.
- Expecting swirl removal: sealant boosts gloss, but correction needs polishing.
- Stacking too many products: mixing a sealant with random spray waxes can reduce beading consistency, depending on chemistry.
When a sealant kit is not enough (and what to do instead)
Sometimes the “problem” is not the kit, it is the paint condition. If your clearcoat has oxidation, heavy water spot etching, or deep scratches, a sealant will not fix that, it may even highlight defects under strong light.
- If you see chalky paint: consider a one-step polish first, then seal.
- If water spots feel etched: try a dedicated water spot remover, test small areas, and follow label safety directions.
- If the car has fresh bodywork: confirm cure guidance with the paint shop, some fresh finishes should not be sealed immediately.
If you are unsure about paint thickness, sanding marks, or aggressive correction, it is smarter to consult a professional detailer. Clearcoat is finite, and heavy polishing can remove measurable material.
Key takeaways and a simple action plan
If you want the best car paint sealant kit with applicator to feel “worth it,” prioritize a kit with a controllable applicator and towels that buff clean, then spend most of your effort on prep and thin application.
- Pick for your reality: driveway DIY often prefers forgiving wipe-off or spray sealants.
- Prep beats hype: clean, decontaminated paint makes almost any decent sealant look better.
- Thin coats win: easier removal, fewer streaks, more consistent protection.
If you only do one thing today, wash well, clay if needed, then apply a thin coat panel by panel, switching towels early instead of fighting residue.
FAQ
What is the difference between a paint sealant and car wax?
Wax is often natural-based and can give a warm look, while sealants are typically synthetic polymers aimed at durability and sharper gloss. In real life, both can look great, but sealants usually last longer when wash habits are consistent.
How long should a paint sealant last on a daily driver?
It varies by climate, washing method, and product type. Many drivers see protection fade faster if they use strong detergents or frequent automated washes, so plan on maintenance layers rather than relying on a single application.
Can I use a sealant kit with applicator on matte or satin paint?
Be cautious. Many sealants add gloss, which can alter matte finishes. Look for products explicitly labeled for matte/satin surfaces, and when in doubt, test a small hidden section first.
Why does my sealant streak or haze after buffing?
Most streaking comes from over-application, hot panels, or a towel that is too saturated. Apply a thinner film, move into shade, and swap to a fresh microfiber towel sooner than you think you need.
Should I clay the car every time before applying sealant?
Not always. If the paint feels smooth after washing, claying may be unnecessary and can add marring if done carelessly. Use the “bag test” with a clean plastic bag over your hand to feel contamination more clearly.
Can I layer a sealant over a ceramic coating or use it as a topper?
Often yes, but compatibility depends on the coating and the sealant chemistry. Many people use silica-based maintenance products designed for coatings, because they tend to behave more predictably than random toppers.
What is a reasonable amount of sealant to use per application?
Less than most people expect. A few small drops per section is typical with a foam pad, you want a thin, even film. If your applicator feels soaked, you will likely fight removal.
If you are trying to choose a sealant kit but keep bouncing between “easy wipe-off” and “long durability,” it often helps to narrow it to your parking situation and wash routine, then pick a kit that includes an applicator you can control and towels you will actually enjoy using.