
How to clean car oxygen sensor for better mpg starts with a reality check: many oxygen sensors can’t be “restored” by cleaning, but in a few common situations, removing contamination can help your engine fuel correctly and stop wasting gas.
If your MPG dropped, the idle feels off, or you’re seeing an oxygen sensor code, it’s tempting to grab a spray can and hope for the best. The problem is that O2 sensors are delicate, and the wrong cleaning method can ruin one that was still usable.
This guide helps you decide whether cleaning is worth attempting, how to do it without damaging the sensor, and when you should skip the DIY route and replace the part instead.

What an oxygen sensor really does (and why MPG suffers)
Your oxygen (O2) sensor measures oxygen content in the exhaust so the engine computer can adjust the air-fuel ratio. When readings drift or go “lazy,” the computer often runs richer than it should, and fuel economy takes the hit.
According to the U.S. Environmental Protection Agency (EPA), properly functioning emission-control components help maintain fuel economy and reduce emissions, and a malfunctioning sensor can contribute to increased fuel use and higher emissions.
One more nuance: most vehicles have multiple sensors. Upstream (before the catalytic converter) sensors influence fueling the most, so they’re the ones most tied to MPG complaints. Downstream sensors mainly monitor catalytic converter performance.
Why an O2 sensor gets dirty (and when cleaning might help)
O2 sensors don’t usually “collect grime” like a filter. What hurts them is contamination on the sensing element or a failing heater circuit, and only the first category has any chance of improving with cleaning.
- Oil ash from burning oil (worn rings, valve seals, turbo seals) can coat the sensor. Cleaning may help temporarily, but the root cause still matters.
- Coolant contamination from a head gasket leak often leaves silicate deposits. In many cases, replacement ends up being the real fix.
- Fuel additives and silicone (some sealants, certain “stop leak” products) can poison sensors. Cleaning usually won’t reverse chemical poisoning.
- Rich running from a misfire or leaking injector can create heavy soot. Cleaning can sometimes remove soot, but you still need to fix why it ran rich.
So when does it make sense? If the sensor is relatively new, was exposed to soot from a temporary issue, and the car otherwise runs normally, a careful cleaning attempt can be reasonable. If the sensor is old, cracked, or the car keeps setting codes, replacement is often the more honest answer.
Quick self-check: are you dealing with a “cleanable” situation?
Before you touch a wrench, try to classify the problem. This saves you from cleaning a sensor that’s electrically failing or chemically poisoned.
- More likely to help: recent rich condition fixed (misfire repaired), visible dry soot on the sensor tip, no wiring damage, no coolant/oil consumption symptoms.
- Less likely to help: recurring O2 heater codes (often P0135/P0141-type), brittle or melted wiring, persistent oil burning, coolant loss, white exhaust smoke, contaminated spark plugs.
Common symptoms to note
- Noticeable MPG drop with no change in driving habits
- Rough idle or hesitation (can also be many other issues)
- Check Engine Light with O2-related codes
- Failed or borderline emissions test (where applicable)
Decision table: clean vs replace vs diagnose first
| What you see | Most likely issue | Best next step |
|---|---|---|
| Heater circuit code, no visible soot | Electrical/heater failure | Diagnose wiring/fuse, likely replace sensor |
| Dry black soot after a recent misfire/rich condition | Carbon fouling | Cleaning attempt can be reasonable, then verify trims |
| Chalky white deposits, coolant loss | Coolant contamination | Fix leak first, replacement usually needed |
| Oily wet sensor, oil consumption | Oil burning contamination | Repair oil issue, sensor may need replacement |
| No codes, MPG down, lots of short trips | Driving cycle / carbon elsewhere | Check tire pressure, filters, maintenance, scan fuel trims |
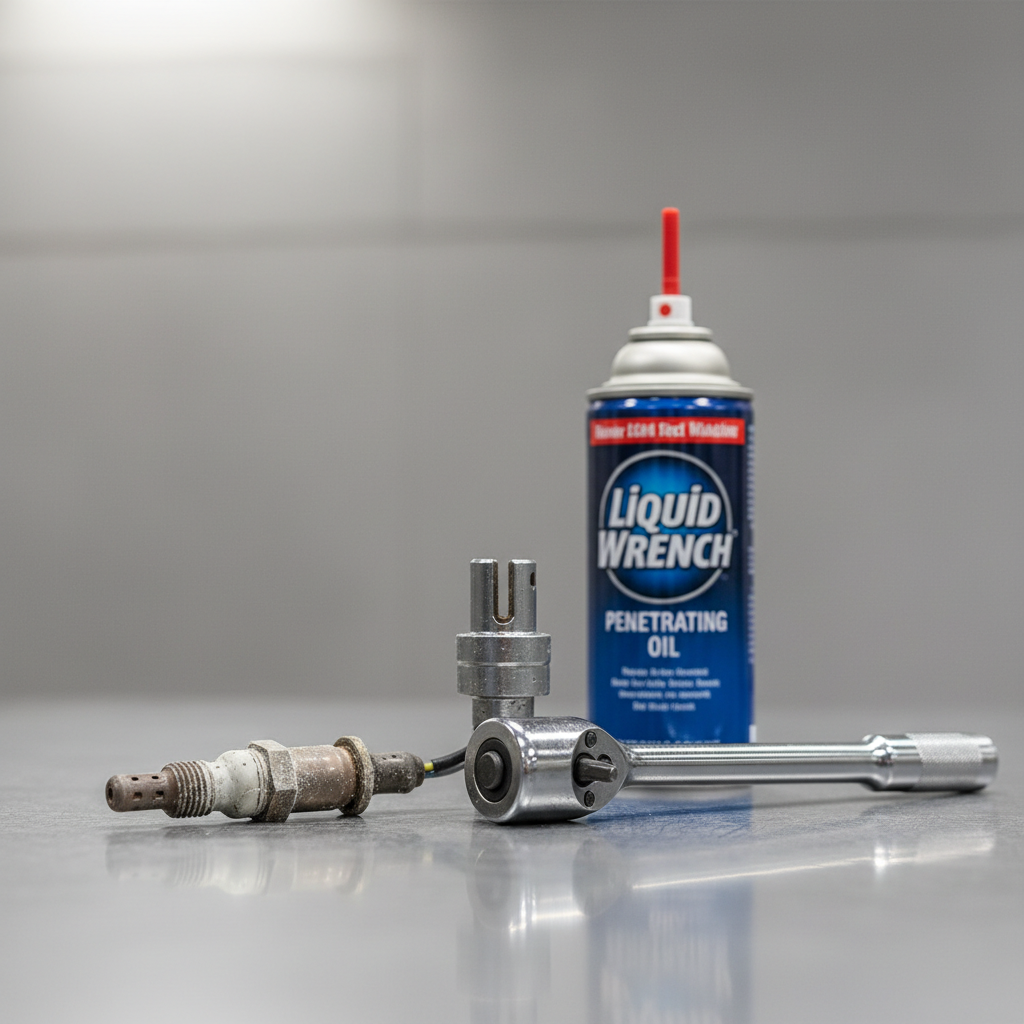
Tools, supplies, and safety notes (don’t skip this)
O2 sensors sit in the exhaust, so burns and stripped threads are the two classic DIY mistakes. Let the exhaust cool fully, and if you live in the rust belt, assume things are tighter than you want.
- O2 sensor socket or a 7/8" (22mm) wrench (socket is usually easier)
- Penetrating oil (helpful on rusty threads)
- Mass Air Flow (MAF) sensor cleaner or electronics cleaner that leaves no residue (avoid brake cleaner unless you’re 100% sure it’s safe for sensors)
- Nitrile gloves, safety glasses
- Torque wrench (nice to have), anti-seize if the new sensor doesn’t come pre-coated
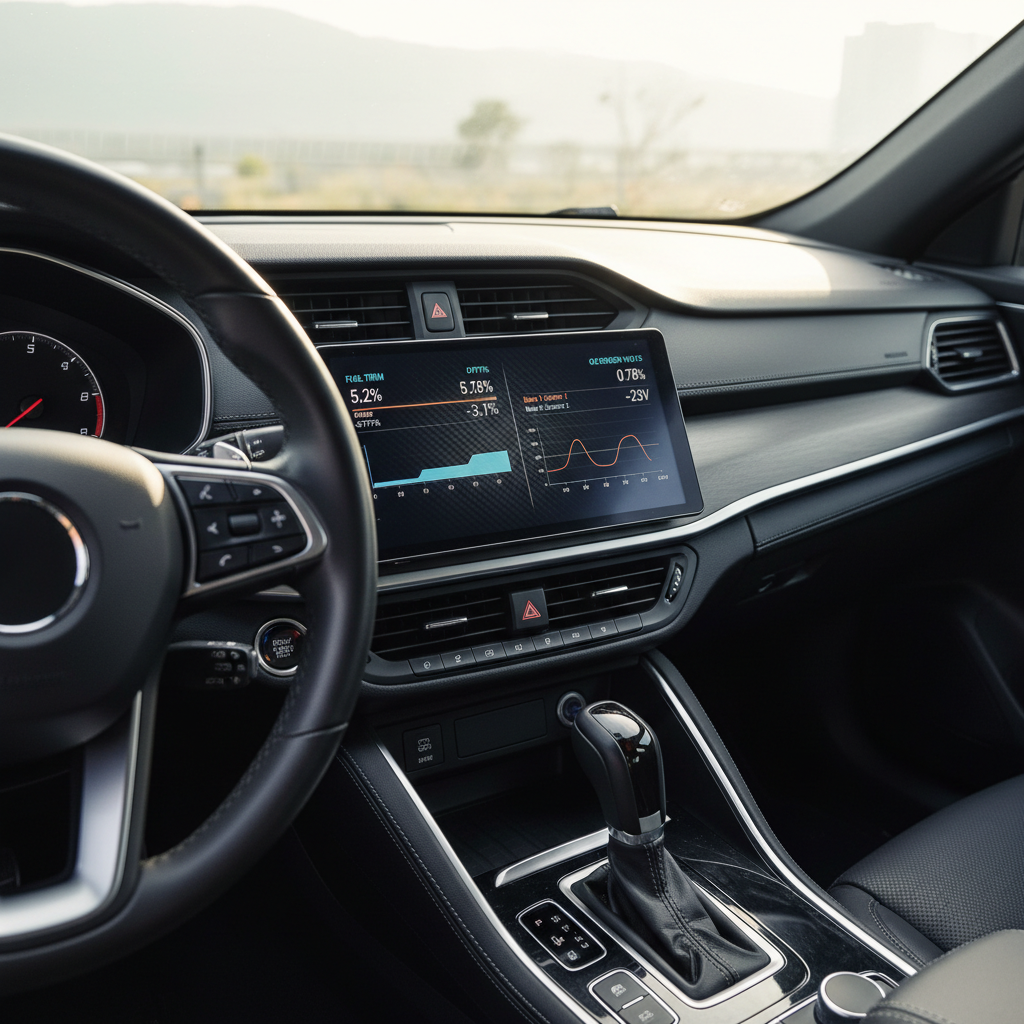
- Scan tool to check codes and fuel trims (even a basic OBD2 reader helps)
Safety note: aerosol cleaners are flammable and irritating to breathe. Use ventilation, keep away from ignition sources, and if you’re unsure about access under the vehicle, a professional shop is the safer option.
Step-by-step: how to clean an oxygen sensor safely
If you’ve decided the situation is “cleanable,” the goal is simple: remove loose soot without scratching, soaking, or heat-shocking the sensing element.
1) Confirm you’re removing the right sensor
Most cars have at least two. Upstream is typically on the exhaust manifold or just after it, downstream is after the catalytic converter. If your goal is better MPG, the upstream sensor matters most in many vehicles.
2) Let the exhaust cool, then disconnect the battery (optional but smart)
This reduces burn risk and avoids accidentally shorting a circuit if you tug wiring the wrong way.
3) Unplug the connector carefully
Don’t twist the wire harness to remove the sensor. Hold the connector body, release the lock tab, then separate.
4) Break the sensor loose and remove it
- Apply penetrating oil to the threads if needed, wait a few minutes.
- Use an O2 sensor socket, steady pressure, and avoid rounding the hex.
- If it feels like it will snap, stop. A broken sensor in the bung becomes a much bigger job.
5) Clean only the sensing tip area
- Hold the sensor so the tip points down, then spray MAF/electronics cleaner onto the tip and vents.
- Let the runoff carry soot away. Do not use a wire brush, sandpaper, or picks.
- Do not soak it in gasoline or harsh solvents, and avoid getting cleaner inside the connector end.
6) Air-dry completely
Give it time to evaporate fully. Compressed air can help, but keep pressure gentle and don’t blast directly into the sensor vents from inches away.
7) Reinstall correctly
- Thread by hand first to avoid cross-threading.
- Tighten to spec if you can find it in a service manual. If not, snug plus a small additional turn is typical, but overtightening can strip threads.
- Reconnect the harness securely and route it away from hot exhaust parts.
8) Clear codes and verify results
Clear the code, then drive enough for the car to relearn. Check fuel trims if your scan tool supports it. If trims remain extreme or codes return quickly, cleaning didn’t address the real failure.
What “better MPG” looks like after cleaning (and how to measure it)
MPG changes can be subtle, and short trips can hide progress. If you’re testing whether how to clean car oxygen sensor for better mpg actually worked, you need a clean comparison.
- Use the same route if possible, same tire pressure, same fuel grade.
- Reset the trip meter and track at least half a tank, not just a 5-mile commute.
- Watch fuel trims with a scan tool: big improvements often show up there before you “feel” anything.
If you see a small MPG recovery but the check engine light returns later, that often points to a sensor that’s aging out, or an upstream problem (vacuum leak, exhaust leak, injector issue) that cleaning can’t fix.
Mistakes that waste time (or kill the sensor)
- Using brake cleaner or carb cleaner blindly: some formulations can leave residue or damage plastics and coatings.
- Scraping the tip: the sensing element is not built for abrasion.
- Cleaning without fixing the cause: if you’re burning oil or coolant, contamination comes back quickly.
- Ignoring exhaust leaks: a leak upstream can pull in air and mislead readings, mimicking a bad sensor.
- Forgetting sensor type differences: wideband/air-fuel ratio sensors can be more sensitive than older narrowband sensors, and cleaning success varies.
Key point: if your vehicle uses a wideband A/F sensor (common on many modern cars), cleaning may be less forgiving, and replacement can be the more reliable fix when drivability issues persist.
When to stop DIY and get professional help
There’s a point where “try cleaning it” turns into “I’m guessing.” A shop with proper diagnostics can prevent repeated parts swapping.
- Codes return immediately, especially heater or circuit codes
- You can’t remove the sensor without extreme force (risk of breaking it in the bung)
- You suspect oil burning, coolant loss, or a persistent misfire
- You need emissions compliance in a state with strict testing
According to SAE International, accurate OBD-based diagnostics and correct repair procedures are important for emissions-related issues, and sensor faults can be misdiagnosed when underlying engine or exhaust problems are present. If you’re seeing mixed symptoms, getting a confirmed diagnosis can save money.
Practical wrap-up and next steps
How to clean car oxygen sensor for better mpg is worth trying when contamination is light and the sensor is otherwise healthy, but it’s not a cure-all, and it won’t fix electrical failures or chemical poisoning.
If you want the fastest next move, do this: scan for codes and look at fuel trims, then decide whether a careful cleaning attempt makes sense. If symptoms point to oil/coolant contamination or heater failure, you’ll usually get better results by diagnosing the root cause and budgeting for replacement.
FAQ
Can cleaning an oxygen sensor really improve MPG?
It can, but usually only when the sensor tip is coated with removable soot and the sensor electronics are still healthy. If the sensor is slow due to age or has a heater fault, cleaning rarely changes MPG in a meaningful way.
What cleaner is safest for an O2 sensor?
Many DIYers use MAF sensor cleaner or residue-free electronics cleaner because it’s designed for sensitive components. Avoid oily sprays or anything that leaves residue, and don’t use harsh solvents unless the product explicitly indicates sensor-safe use.
Do I need to remove the sensor to clean it?
In most cases, yes. Spraying into the exhaust doesn’t reliably reach the sensing element, and it can create other issues. Removing it also lets you inspect for cracks, heavy deposits, or damaged threads.
How long should I let the sensor dry before reinstalling?
Wait until the solvent fully evaporates. In a ventilated space that’s often 15–30 minutes, but temperature and cleaner type matter, so give it extra time if you’re unsure.
Will a dirty oxygen sensor throw a check engine light every time?
Not always. Some sensors drift slowly and stay within the computer’s “acceptable” range, yet fuel trims creep rich and MPG drops. That’s why checking live data can be more telling than relying on the light alone.
Is it better to replace upstream or downstream O2 sensors for MPG?
If you’re chasing fuel economy, upstream sensors typically have the bigger influence on fueling in many vehicles. Downstream sensors mostly monitor the catalytic converter, though there are exceptions depending on engine management strategy.
Could something else be causing my MPG drop besides the oxygen sensor?
Very often, yes: underinflated tires, dirty air filter, dragging brakes, failing thermostat, vacuum leaks, misfires, and exhaust leaks can all affect fuel economy. If cleaning doesn’t change trims or drivability, broaden the diagnosis.
If you’re trying to improve MPG and you’d rather not guess, a basic OBD2 scanner that shows live O2/A-F data and fuel trims can make this whole process clearer, you’ll know whether cleaning helped, or whether it’s time to replace the sensor or chase a different root cause.