
How to clean wheel wells in car is one of those tasks people skip until the first time they hear gravel pinging, smell damp mud, or notice brown buildup staining the liner. The good news, wheel wells clean up fast when you use the right order: rinse, degrease, agitate, then protect.
If you keep up with it, you also reduce the chance of packed dirt holding moisture against plastic liners, fasteners, and suspension parts. It won’t “rust-proof” a vehicle by itself, but it often helps you spot problems earlier, like torn liners, loose clips, or leaking shocks.
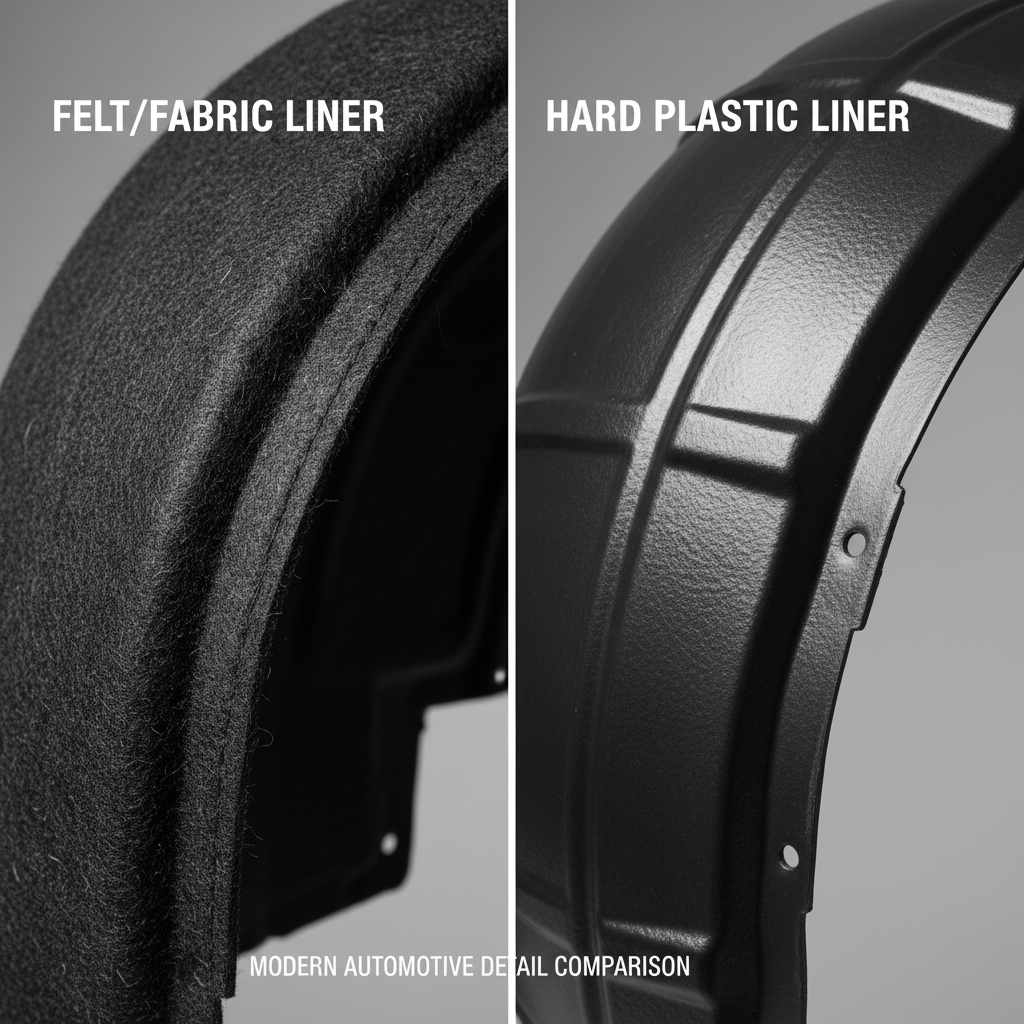
A quick heads-up, the “perfect” method depends on your wheel well type. Some cars have felt-like liners that behave differently than hard plastic, and some trucks have open wells that expose more metal. I’ll walk you through a safe baseline approach, then a few adjustments by situation.
What makes wheel wells so hard to clean
Wheel wells collect a weird mix that normal car wash soap struggles with. You’re dealing with road film, brake dust overspray, oily residue, and sometimes tar.
- Road grime bonds like a thin waxy layer, especially in winter or rainy states.
- Caked mud and sand turns into a concrete-like crust if it dries in place.
- Salt and de-icers can leave a chalky film that keeps coming back if you only rinse.
- Old dressing buildup traps dirt and creates that sticky, patchy look.
According to the U.S. Environmental Protection Agency (EPA), many cleaners can harm waterways if they run into storm drains, so it’s worth using products responsibly and washing on a surface that drains to a sanitary system when possible.
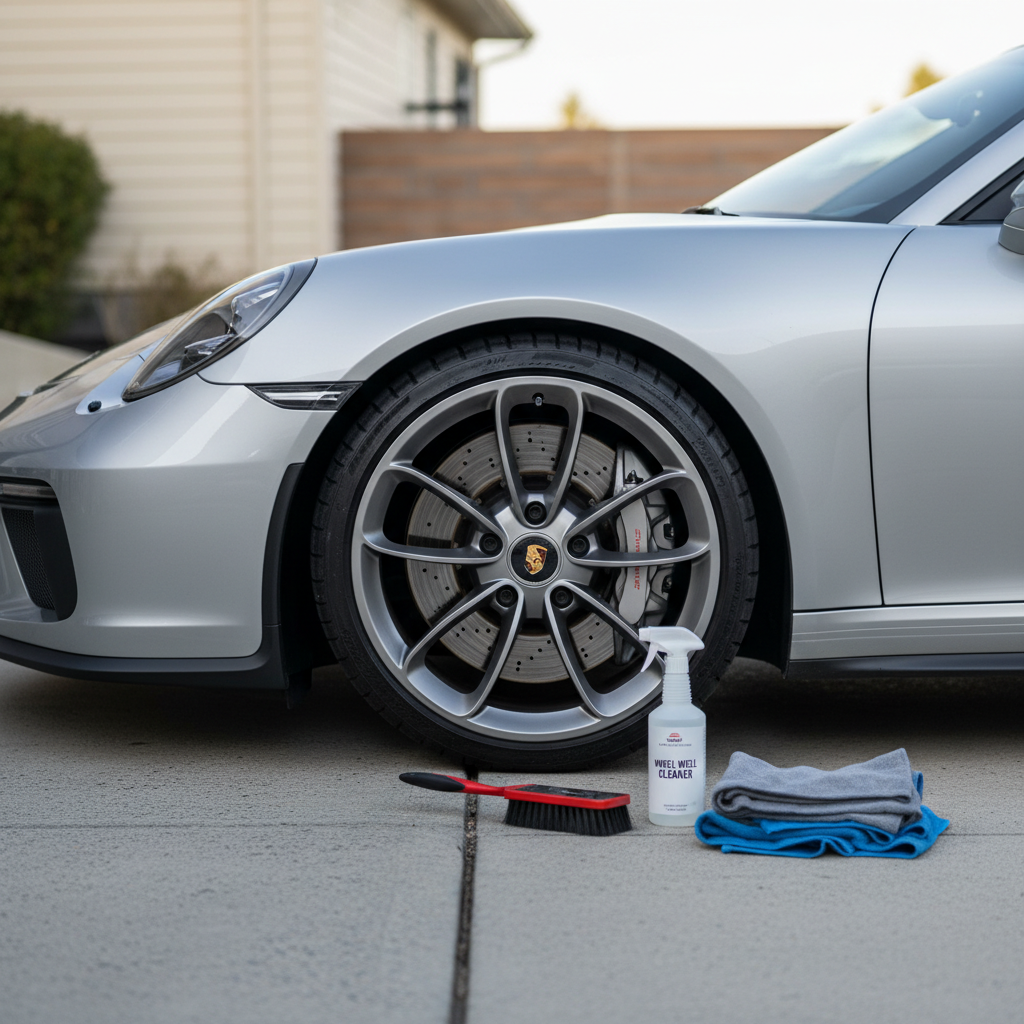
Tools and products you actually need (and what to skip)
You can do this with a small kit. The goal is strong cleaning power with minimal risk to liners, paint edges, and nearby brakes.
Recommended basics
- Hose with spray nozzle or a pressure washer (gentle fan tip, not a pinpoint jet)
- All-purpose cleaner (APC) or a dedicated wheel well cleaner
- Stiff nylon tire/wheel well brush plus a smaller detail brush for corners
- Bucket, microfiber towels
- Optional: plastic trim/wheel well dressing (water-based usually easier to control)
Usually not worth it
- Household degreasers that aren’t automotive-labeled, they can stain plastics or dull finishes
- Wire brushes, they can shred liners and remove protective coatings
- Super aggressive acid wheel cleaners in the wheel well area, overspray risk is real
Quick self-check: choose the right approach for your wheel wells
Before you spray anything, decide what you’re cleaning. This takes 20 seconds and saves you from overdoing it.
- Felt/fabric liner: looks fuzzy, holds moisture, prefers lighter agitation and less product.
- Hard plastic liner: glossy or matte plastic, can handle stronger brushing.
- Painted metal lip (at the edge): treat gently, avoid blasting seams and clips.
- Heavy mud: needs a long rinse and soak cycle, not extra chemical.
- Oily buildup: needs an APC/degreaser and multiple passes.
If your liner is felt and already fraying, keep expectations realistic. You can improve the look a lot, but it may never appear “jet black” like new plastic.
Step-by-step: how to clean wheel wells in car (safe baseline method)
Step 1: Cool down and set up
Work out of direct sun if you can, and avoid cleaning right after a drive when brakes and wheels are hot. Heat makes products dry too quickly and can increase spotting.
Step 2: Rinse thoroughly
Start with a wide fan spray and rinse from top of the wheel arch down. The point is to remove loose grit so you don’t grind it in while brushing.
Step 3: Apply cleaner and let it dwell
Mist APC or wheel well cleaner across the liner. Give it 60–120 seconds. Don’t let it dry, if it starts to haze, lightly mist with water.
Step 4: Agitate with the right brush
Use the stiff brush on plastic liners, and a gentler brush on felt. Hit the “shelf” areas where mud packs, and the rear of the arch where grime usually concentrates.
Step 5: Rinse again, top to bottom
Rinse until runoff looks clear. For stubborn areas, repeat Steps 3–5 instead of escalating to harsh chemicals immediately.
Step 6: Dry and inspect
Pat dry with microfiber where reachable. Take a second to look for dangling clips, torn liners, or wet oily spots that might point to a leak.
Scenario fixes: mud, winter salt, and oily residue
Most people get “stuck” because the wheel well problem isn’t dirt, it’s a specific type of contamination. Here’s how to adjust without turning your driveway into a chemistry set.
Heavy mud and clay
- Do a long rinse first, then let water soak the crust for a minute.
- Use a plastic trim tool or a gloved hand to break up thick chunks gently.
- Cleaner comes after the bulk mud is gone, otherwise you waste product.
Winter salt film
- Use warm water if available, it helps dissolve residue.
- Do two rinse cycles, one before cleaner, one after agitation.
- If you live in a heavy salt area, more frequent light cleanings beat one aggressive scrub.
Oily grime (tar, seepage, old dressing)
- Choose an automotive APC/degreaser and follow label dilution.
- Let it dwell a bit longer, then brush in tight circles.
- If you suspect an actual fluid leak, cleaning is fine, but diagnosis may require a mechanic.
Finishing options: leave it clean or add protection
Once the surface is clean, you can stop there. If you want the “fresh” look, apply a water-based dressing designed for wheel wells or plastic trim. Go light, heavy product often slings onto paint after your next drive.
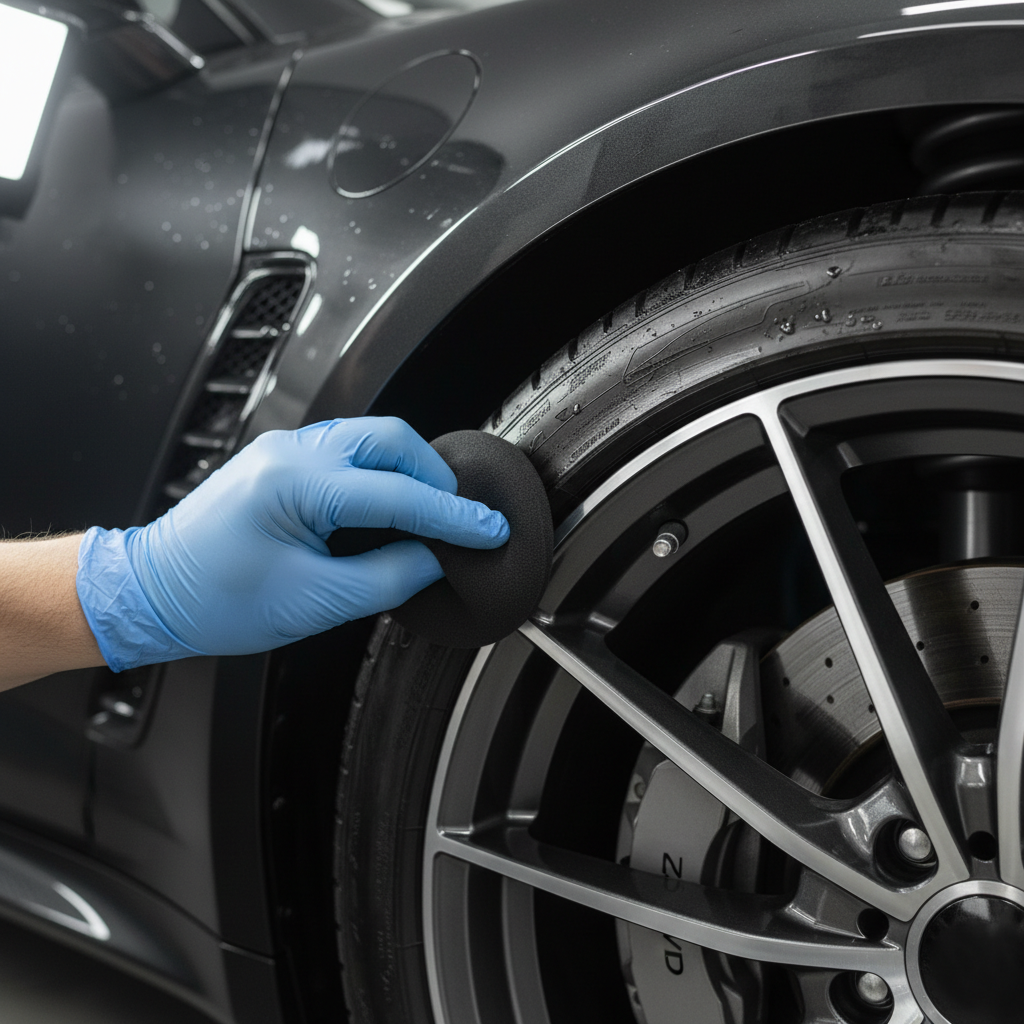
How to apply dressing neatly
- Put product on an applicator, not directly on the liner, to reduce overspray.
- Wipe the painted fender lip immediately if you touch it.
- Let it cure a few minutes, then lightly buff with a towel to reduce sling.
According to the Centers for Disease Control and Prevention (CDC), good ventilation matters when using chemicals; if you’re working in a garage, keep airflow moving and follow the product safety label.
Common mistakes that waste time (or cause damage)
- Blasting seams with a narrow pressure tip: it can force water past clips or into areas you don’t want saturated.
- Letting cleaner dry: dried chemical residue can stain plastics and look worse than dirt.
- Using tire shine as a “cleaner”: it hides grime temporarily and attracts more dust.
- Scrubbing felt liners like plastic: it can fuzz up the surface and make it look patchy.
- Ignoring runoff: in many areas, letting chemicals run to storm drains can be an issue, use a responsible wash location.
A simple time plan + product chooser (table)
If you just want a practical playbook, this is the one I’d keep.
| Wheel well condition | What to use | Estimated time (all 4) | Notes |
|---|---|---|---|
| Light dust | Rinse + car shampoo | 10–15 min | Brush optional, focus on rinse quality |
| Moderate grime | APC + stiff brush | 20–35 min | Two passes beat stronger chemical |
| Caked mud | Long rinse + APC after | 30–50 min | Soak and break chunks gently |
| Oily buildup | APC/degreaser + detail brush | 30–60 min | Watch for leaks, avoid harsh acids |
When it makes sense to get professional help
Cleaning is straightforward, but a few cases deserve a second set of eyes.
- You see fresh oily wetness returning quickly after cleaning, it may indicate a leak.
- The wheel well liner is loose or rubbing the tire, that can become a safety issue.
- You hear scraping after a mud/snow trip, packed debris might be contacting a rotating part.
- You’re not sure what chemical is safe for a special coating or aftermarket parts, ask a detailer.
Key takeaways (so you don’t overthink it)
- Rinse first, otherwise you scrub sand into everything.
- Dwell time matters, keep the surface wet, don’t let product dry.
- Match brush to liner, felt and plastic respond differently.
- Light dressing goes far, overspray and sling ruin the payoff.
Conclusion: If you follow the rinse–clean–agitate–rinse routine, wheel wells usually go from “hopeless” to noticeably cleaner in one session, and the next wash becomes much easier. Pick one day this month to reset them, then keep it simple with a quick rinse and light scrub every few washes.
If you want the fastest next step, turn your front wheels outward for access, clean one wheel well start to finish, then repeat. Momentum matters more than perfection.