
how to condition leather car seats is mostly about getting the prep right, using a conditioner that matches your seat finish, and giving it enough time to absorb without leaving a slick shine.
If your seats feel stiff, look dull, or show light creasing, conditioning can help restore flexibility and slow drying, but only when you do it on clean leather. A lot of “conditioning mistakes” are really cleaning mistakes, product mismatch, or over-application.
This guide breaks down what leather in modern cars actually is, how to tell what your seats need, and a practical step-by-step routine you can repeat a few times a year.
What “car leather” usually is (and why it matters)
Most factory leather seats in the U.S. are pigmented and clear-coated, meaning there’s a protective top layer over the dyed leather. That topcoat changes how products behave: you’re not “feeding” raw hide, you’re mainly maintaining softness and protecting the coated surface from drying and abrasion.
Because of that, heavy oils and thick balms often sit on top, attract dust, and feel slippery. A good routine favors light, water-based leather conditioners designed for automotive interiors.
According to Leather Working Group..., automotive leather is commonly finished with protective coatings to improve durability and stain resistance, so maintenance tends to focus on gentle cleaning and compatible protection rather than soaking the leather with oils.
Why leather seats dry out or crack in real life
Cracking usually isn’t “because you didn’t condition once.” It’s a slow combination of heat, UV exposure, friction, and neglected grime that acts like sandpaper.
- Heat and sun: parked cars can get brutally hot, which speeds drying and can stress the topcoat.
- Body oils and sweat: they build up where you sit and can weaken the finish over time.
- Dirt in creases: abrasion in seams and bolsters, especially on the driver side.
- Wrong products: silicone shine sprays, household cleaners, and oily dressings can leave residue or damage coatings.
If you’re trying to figure out how to condition leather car seats effectively, start by treating “clean + protect” as one workflow, not two separate hobbies.
Quick self-check: do you need cleaning, conditioning, or repair?
Before you buy anything, do a two-minute check. It saves you from conditioning over grime and wondering why the seats still look tired.
- Feels slightly dry, looks matte, no flaking: conditioning and UV protection usually help.
- Looks shiny where people sit: that’s often oil buildup, you need cleaning first.
- Visible color loss or light cracks in the finish: conditioning may reduce stiffness, but you might need a repair kit or a pro for lasting results.
- Sticky/tacky feel: too much product or incompatible dressing, remove residue with a leather-safe cleaner.
Key point: conditioner is not a stain remover, and it won’t “erase” cracking that already broke the top layer.
Pick the right products (and avoid the common traps)
You don’t need a shelf of products, but you do need the correct type. In most cases, the safest combo is: pH-balanced leather cleaner + water-based conditioner/protectant made for automotive leather.
What to look for
- Automotive leather-safe and compatible with coated/pigmented leather.
- Low-gloss or matte finish if you want an OEM look.
- UV inhibitors if your car sits in sun a lot (parked outside, long commutes).
What to skip (most of the time)
- Heavy oils (they can sit on topcoat and attract dust).
- “High-shine” dressings that make seats slick, especially on bolsters where you slide in and out.
- Household cleaners like all-purpose degreasers, bleach, ammonia, or harsh alcohol mixes.
According to American Leather Chemists Association..., harsh cleaning agents can damage leather finishes; gentle, leather-appropriate cleaners are typically recommended to preserve coatings and appearance.
How to condition leather car seats: step-by-step routine
how to condition leather car seats without streaks or residue comes down to thin layers, clean towels, and letting the product do its job instead of forcing it.
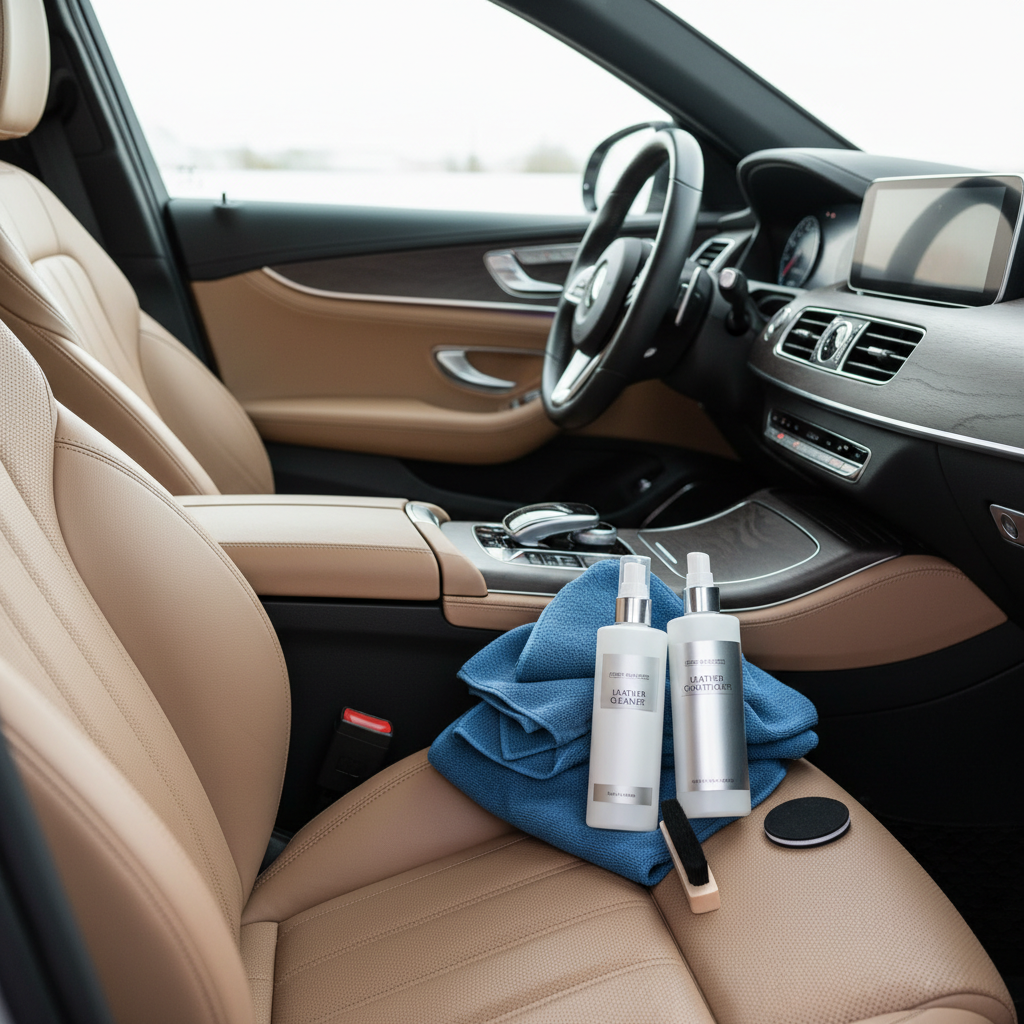
What you’ll need
- Vacuum with a soft brush attachment
- 2–4 clean microfiber towels (you’ll want a “cleaning towel” and a “buff towel”)
- Leather cleaner (pH-balanced, automotive)
- Leather conditioner/protectant (water-based, non-greasy)
- Soft interior brush (optional but helpful for seams)
1) Vacuum first (especially seams)
Get crumbs and grit out of stitching and creases. If you condition over grit, you’re basically rubbing fine sand into the finish when you wipe.
2) Clean the seat lightly, section by section
Spray cleaner onto a towel or brush, not directly onto perforated leather. Work in small zones, then wipe dry. If your towel comes away dark, keep going until it improves.
3) Let the surface dry a few minutes
You want the leather dry to the touch before conditioning so the product spreads evenly.
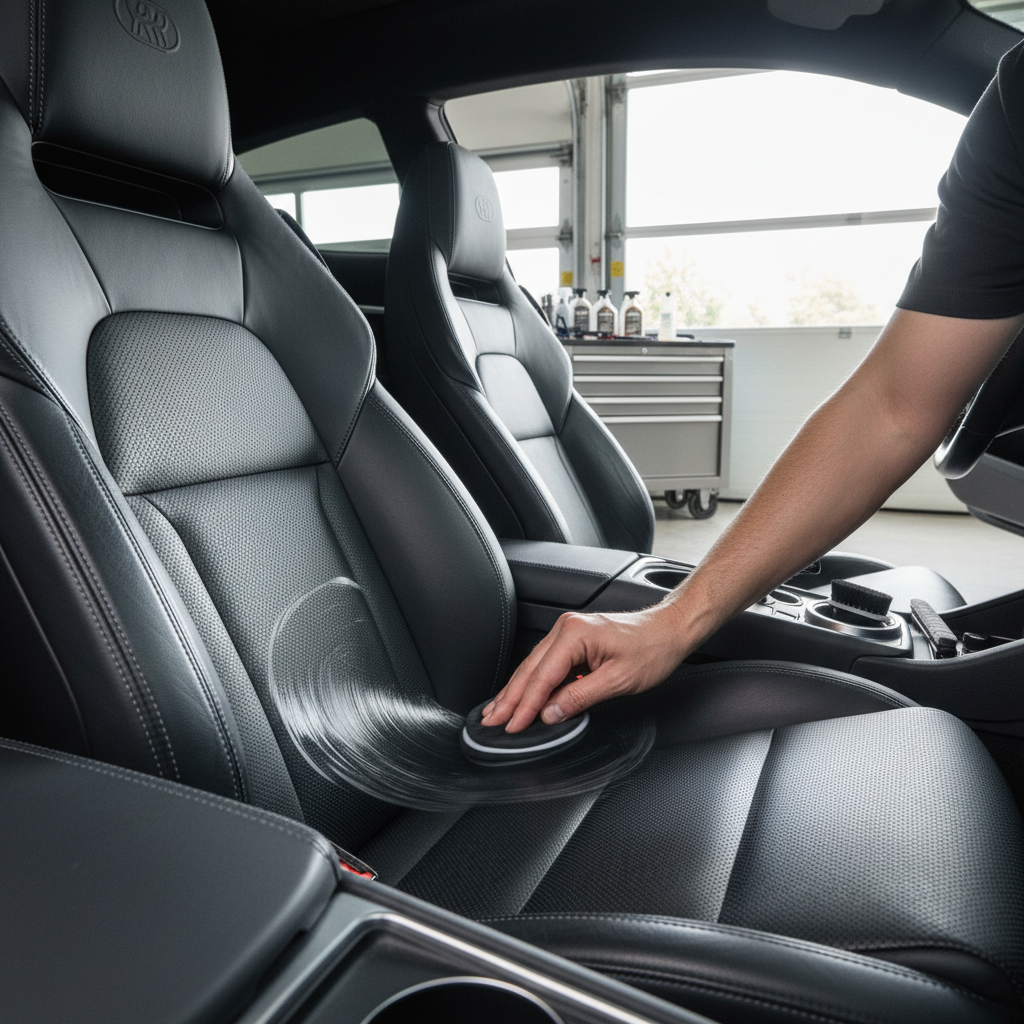
4) Apply conditioner in a thin, even coat
Put a small amount on a microfiber applicator or towel, then wipe in straight lines, overlapping passes. Focus on high-wear areas: driver bolster, seat bottom, outer edges.
- Less is better on coated leather, you can always add a second light pass.
- Avoid soaking seams and perforations, excess product can pool.
5) Dwell time, then buff
Follow the label, but many products want roughly 5–15 minutes before a light buff. Buffing removes excess residue and restores that factory matte look.
6) Keep the car ventilated
Crack windows or leave doors open in a safe area for a short time. If you notice strong odor or sensitivity, ventilation helps and you may want a different product next time.
Timing guide: how often to clean and condition
There’s no magic schedule that fits every driver. Climate, parking habits, and seat color all change the math. Here’s a practical baseline many people can follow, then adjust.
| Driving/Storage Situation | Clean | Condition/Protect |
|---|---|---|
| Garage kept, mild climate | Every 1–2 months | 2–3 times per year |
| Parked outside, sunny/hot areas | Monthly | Every 2–4 months |
| Kids/pets, heavy use | Every 2–4 weeks | Every 3–4 months |
| Light-colored leather (shows transfer) | Every 3–6 weeks | 2–4 times per year |
If you’re learning how to condition leather car seats, a good rule is: condition when the leather starts to feel less supple, not when it already looks damaged.
Mistakes that cause greasy seats, streaks, or faster wear
- Applying conditioner to dirty seats: the result looks blotchy, and grime stays trapped.
- Over-applying: most residue problems come from using too much, not from the product itself.
- Skipping the buff: unbuffed product attracts dust and can transfer to clothes.
- Using steam or too much water: moisture can get into seams, and some leathers dislike heat. If you’re unsure, test in a hidden spot.
- Chasing shine: shiny leather in cars is often buildup, not “healthy leather.”
Key takeaway: aim for clean, even, and matte. If it feels slick, you probably used too much or chose a dressing instead of a conditioner.
When to call a pro (or switch from conditioning to repair)
Conditioning supports maintenance, but it won’t rebuild missing pigment or fix peeling clear coat. Consider professional help when:
- Cracks look like spiderweb lines with visible flaking, especially on bolsters
- Dye transfer and stains won’t lift with gentle leather cleaner
- Seats feel unusually stiff and rough, or you see surface delamination
- You have ventilated seats and worry about product getting into perforations and foam
If you suspect mold, persistent odor, or chemical sensitivity, it’s safer to stop and consult a qualified detailer or upholstery specialist, because aggressive DIY cleaning can spread the problem.
Conclusion: a simple routine you can actually stick with
how to condition leather car seats works best when you keep it boring: vacuum grit, clean lightly, apply a thin coat of a compatible conditioner, then buff to a natural finish. That’s the whole playbook.
If you want one action today, do this: clean the driver seat bolster and condition it lightly, then see how the leather feels tomorrow. Small wins beat a once-a-year marathon.
Key points to remember
- Clean before you condition, otherwise you seal in grime.
- Thin layers prevent slick residue and dust attraction.
- Matte finish usually matches OEM leather appearance.
- Adjust frequency based on sun, heat, and real use.
If you’d rather keep it even simpler, pick one reliable cleaner and one water-based conditioner, then put a reminder on your calendar every 3–4 months.