
how to clean car dashboard with microfiber is mostly about technique: use the right cloth, the right amount of cleaner, and the right wiping pattern so you don’t leave haze, lint, or that tacky shine nobody asked for.
If your dash keeps looking dusty a day later, feels greasy, or shows streaks when sunlight hits, it’s usually not because you “didn’t scrub hard enough.” More often it’s residue from past products, too-wet wiping, or using a towel that’s not actually clean.
This guide walks through a practical routine that works for most daily drivers in the U.S., plus quick ways to tell whether you need a simple dust wipe or a deeper reset, and what to avoid on modern dashboards with screens, soft-touch plastics, and textured vinyl.
Why dashboards get streaky, shiny, or sticky (and why microfiber helps)
A car dashboard is basically a magnet for fine dust, skin oils, off-gassing plastics, and whatever you used last time. When you wipe with the wrong material, you smear oils instead of lifting them.
- Residue from “shiny” dressings builds a film, dust sticks faster, and the next wipe turns into streaks.
- Too much product soaks into texture, then dries unevenly and looks blotchy in sun.
- Paper towels and rough rags can leave lint, drag dirt across the surface, and sometimes create micro-scratches on glossy trim.
- Heat and UV bake grime into the top layer, so a dry wipe feels like it “does nothing.”
Microfiber works because its split fibers grab fine dust and hold it, instead of pushing it around. The catch is that microfiber only behaves like microfiber when it’s clean, not clogged with fabric softener or old dressing.
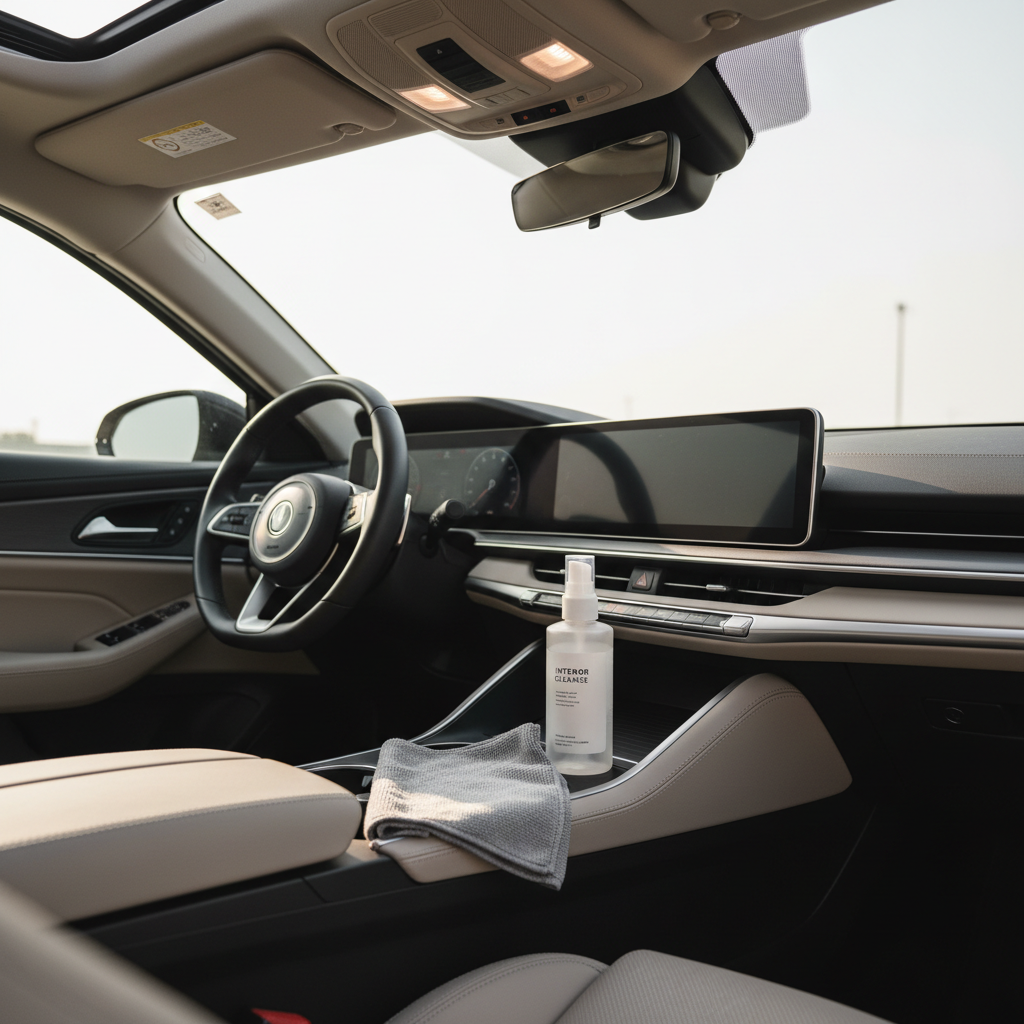
What you need (and what to skip)
You don’t need a shelf full of detailing bottles. You do need a few basics that match the materials you’re touching.
Simple kit that covers most dashboards
- 2–3 clean microfiber cloths: one for cleaning, one for drying/buffing, one spare for surprise grime.
- Interior cleaner labeled safe for plastic/vinyl, or a mild soap-and-water mix for light dirt.
- Soft detailing brush (optional): helpful for vents, seams, and textured grain.
- Compressed air (optional): quick dust removal from buttons and crevices.
Things that commonly cause problems
- Household glass cleaners with strong solvents, especially on tinted films or coated screens.
- Heavy silicone “wet look” dressings if you hate glare or drive in strong sun.
- Magic erasers on soft-touch plastics, which can dull finishes in many cases.
According to NHTSA, glare and reflections can affect visibility, so keep shine under control and avoid over-applying glossy products on top surfaces.
Quick self-check: do you need a light clean or a deep reset?
Before you start, run a clean fingertip across the dash in a low-visibility spot.
- Dry dust only: your finger picks up powder, surface feels normal. A dry or slightly damp microfiber wipe usually works.
- Oily film: your finger leaves a darker trail or feels slick. You’ll want an interior cleaner and a second dry cloth to buff.
- Sticky or blotchy: prior dressing buildup is likely. Plan for a gentle “reset” with multiple light passes, not one aggressive scrub.
- White haze in sunlight: product dried on the surface. You’ll need to re-wet lightly, lift residue, then dry-buff.
If you see cracking, peeling, or a melting-looking soft-touch layer, stop experimenting and consider professional advice, some coatings react badly to strong cleaners and heat.
Step-by-step: how to clean car dashboard with microfiber (the no-streak method)
how to clean car dashboard with microfiber goes smoother when you work in small sections and keep the cloth doing the lifting, not the liquid.
1) Start cool and dry
Park in shade if possible and let the dash cool. Heat makes cleaners flash-dry, which is where streaks come from.
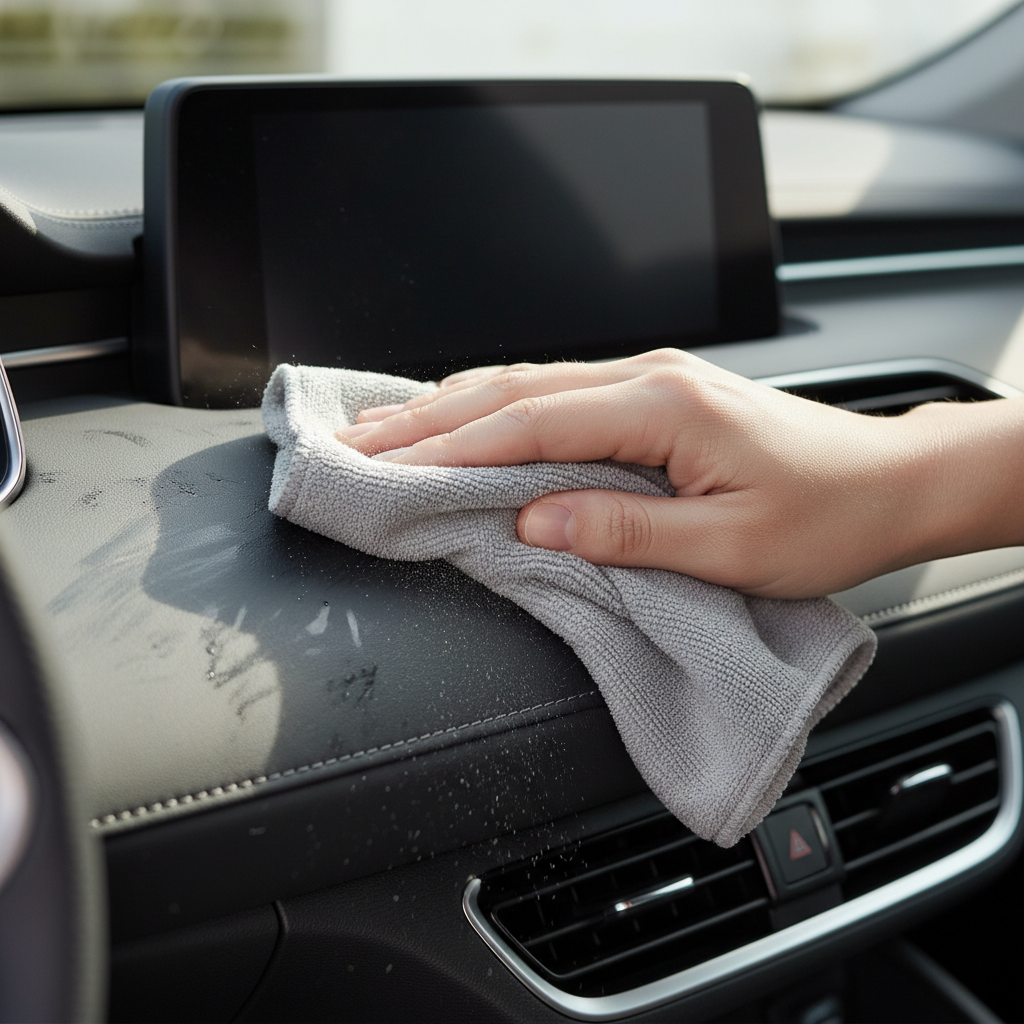
2) Dry dust first (yes, even if you plan to “clean”)
Use a dry microfiber to pick up loose dust. Light pressure, straight strokes. This reduces the chance you grind dust into textured plastic.
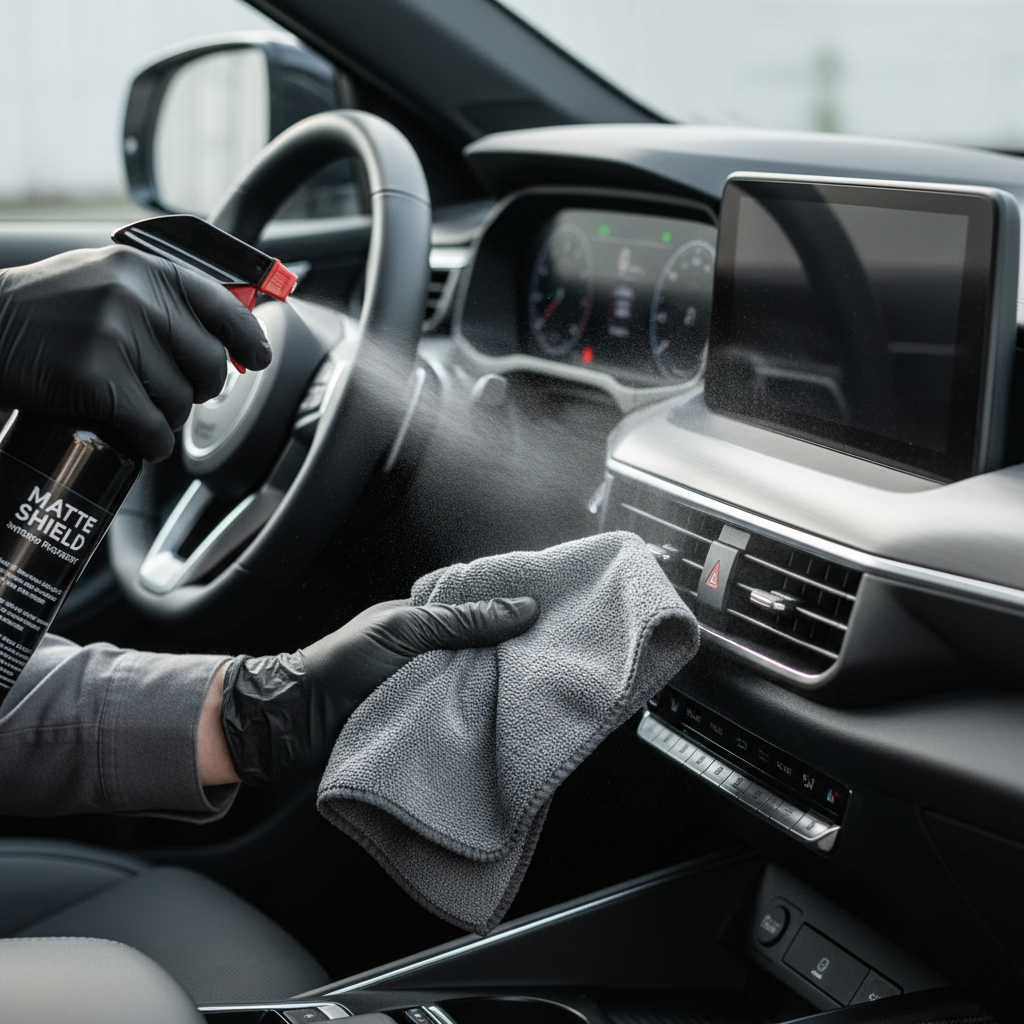
3) Apply cleaner to the cloth, not the dashboard
Mist the microfiber lightly. You want “slightly damp,” not wet. Spraying the dash directly can push liquid into seams, speaker grilles, or electronics.
4) Clean in sections and flip the cloth often
Wipe a section about the width of your forearm, then flip to a clean side. If you keep wiping with a dirty face, you’re just moving grime around.
5) Dry-buff immediately
Use a second dry microfiber to buff the same area. This step is what makes the finish look factory, not smeary.
6) Handle vents, buttons, and seams with a brush
Lightly agitate with a soft brush, then wipe. For tight gaps, wrap a microfiber around a plastic trim tool or your finger and swipe gently.
Screens, piano black trim, and gauges: safer approaches
Modern interiors mix plastics with coated screens and glossy trim. Treat them like separate materials, because they behave differently.
- Infotainment screens: use a clean, dry microfiber first. If needed, a barely damp cloth with water is often enough. Avoid harsh cleaners unless the manufacturer allows it.
- Piano black: use very light pressure and a high-quality microfiber, then dry-buff. These panels scratch easily in many cases.
- Instrument clusters: same approach as screens, and don’t chase perfection with pressure. If you see swirls, it’s usually from past wiping.
According to AAA, driver distraction is a major safety concern, so keep screens clean, but avoid strong chemicals that can damage coatings and make glare worse.
Product choices: quick comparison table
For most people, the “best” product is the one that leaves the least residue for your environment and habits, especially if you park outside or drive dusty roads.
| Option | Best for | Pros | Watch-outs |
|---|---|---|---|
| Water + mild soap (very diluted) | Light dirt, routine wipe-down | Low residue, cheap | Too much soap can haze; rinse cloth well |
| Interior cleaner (plastic/vinyl safe) | Oily film, sunscreen marks, general grime | Balanced cleaning, usually streak-free when used lightly | Over-spraying can leave shine or streaks |
| Interior protectant (matte/satin) | UV exposure, finishing look | Helps reduce drying and fading over time | Too much can attract dust and add glare |
Common mistakes that make the dashboard look worse
- Using one cloth for everything: once it loads up, you get smears. Rotate cloth sides and swap when it feels damp or dirty.
- Cleaning in direct sun: product dries mid-wipe, especially on black dashboards.
- Over-wetting seams: liquid can drip into switches or vents. Keep sprays controlled.
- Chasing shine: glossy dressings can add glare and collect dust faster, which means you clean more often.
- Washing microfiber with fabric softener: it coats fibers, reducing pickup and increasing streaking.
When it’s worth getting professional help
If your dashboard has a soft-touch coating that feels gummy, shows peeling, or has a “melted” look, a pro detailer or an upholstery/interior repair specialist may be the safer route. Strong cleaners and aggressive scrubbing can make that damage more obvious.
Also consider help if there’s moldy odor after water intrusion, electrical issues near the dash, or you’re dealing with unknown chemical contamination. In those cases, it’s reasonable to ask a professional to inspect the source before you focus on cosmetics.
Key takeaways (so you don’t overthink it)
- Dust first, then clean, then dry-buff, that order prevents streaks.
- Spray the cloth, not the dashboard, to protect seams and electronics.
- Use multiple microfibers, one dirty towel is a streak machine.
- Go matte or satin if glare bothers you, especially in bright sun.
Conclusion: a cleaner dash with less effort
how to clean car dashboard with microfiber comes down to small habits: keep a couple clean cloths on hand, use minimal product, and always finish with a dry buff. Your dash stays darker, cleaner-looking, and less reflective, and you spend less time re-wiping the same spots.
If you want one action to take today, wash your microfiber properly and retire the ones that feel greasy, many “dashboard problems” start with the towel, not the dashboard.
FAQ
Can I clean a car dashboard with just water and microfiber?
For light dust, yes. If the surface has oily film or old dressing, water alone often smears, a mild interior cleaner used sparingly tends to lift residue better.
Why does my dashboard look streaky after cleaning?
Usually it’s excess product, a cloth that’s already loaded with oils, or cleaning on a hot surface so the cleaner dries unevenly. Try smaller sections and a dedicated dry-buff cloth.
Is it okay to use vinegar on a car dashboard?
Some people do, but it can be risky on certain plastics, coatings, and trim finishes, and the smell can linger. If you try it, keep it very diluted and spot-test first, or use an interior cleaner designed for automotive materials.
How often should I wipe down my dashboard?
Many drivers do a quick dust wipe weekly and a deeper clean monthly, but it depends on parking outdoors, pets, and climate. If you notice glare or film building, that’s your cue.
Can microfiber scratch my dashboard or piano black trim?
Clean microfiber is generally safe, but dirt trapped in the cloth can scratch glossy panels. Shake out the towel, use light pressure, and avoid using the same cloth that touched gritty areas.
What’s the best way to clean around buttons and vents?
A soft brush plus a microfiber works well. Agitate lightly, then wipe. Avoid flooding the area with spray to reduce the chance of moisture getting behind controls.
Do I need a protectant after cleaning?
Not always. If your car sits in strong sun, a matte or satin protectant may help with UV exposure, but too much product can add shine and attract dust, so go light.
If you’re cleaning often and still fighting haze or dust that comes back fast, you may prefer a simple routine with a dedicated microfiber set and a low-residue interior cleaner, it’s usually the easiest way to keep the dash looking consistent without constant rework.